Disassembling the Raised Garden
A while back, I wrote about starting over with my raised garden. Because of the plagues and pestilence that took out my garden last season, I had to begin this season with new soil and sanitized boxes. The boxes were removed, and the contaminated soil was transported to the opposite side of my yard. The boxes were to be sprayed with a mixture of water and bleach to disinfect them.
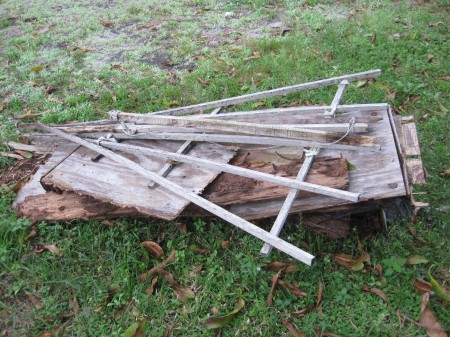
However, when lifting the boxes off the soil, one fell to pieces. This box was only two years old, but it had been constructed, on the spur of the moment, from lumber that was handy at the time. It was not pressure treated lumber.
Upon inspection, we found that the bottom edge of the second box was rotted in places, and the 4x4s were rotting on the inside. This box was already more than four years old, and it made sense to replace it as well.
Construction Specs
Plans with more detailed measurements and instructions for construction of a raised garden box can be found by clicking here.
Materials for New Box
Materials needed to build a raised garden box are two sheets of 3/4-inch pressure treated plywood, one 8-foot pressure treated 4×4 and two 8-foot pressure treated 2x4s. Each box is held together with 44 – 5/16-inch x 2-inch lag bolts and four 3-inch wood screws.
The box itself takes only one sheet of plywood cut into four pieces. However, this season I am making a true ‘raised’ garden, so I bought a second sheet of plywood for a bottom. The boxes will be placed on top of 4-inch concrete blocks, so they do not touch the ground at all.
Building the Garden Box
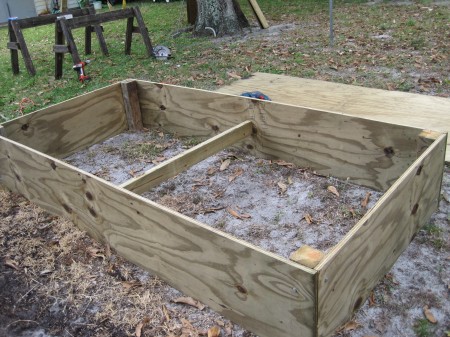
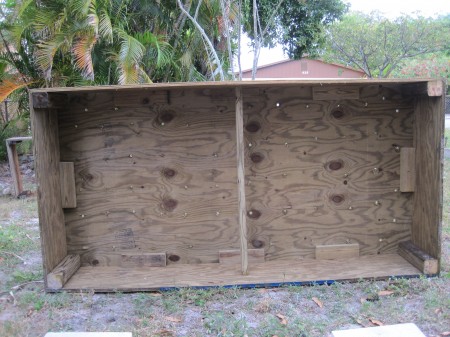
The 16-inch tall box is braced in the corners with a 16-inch 4×4 that is bolted to the frame. **One thing to be aware of if you are putting a bottom on the box… a cut must be made to the short sides of the box to reflect twice the width of the plywood being used.** Without that cut, the bottom will not fit the box.
There are two lag bolts on each side of the corner through the plywood and into the 4×4. The sides are bolted together until the box is completed.
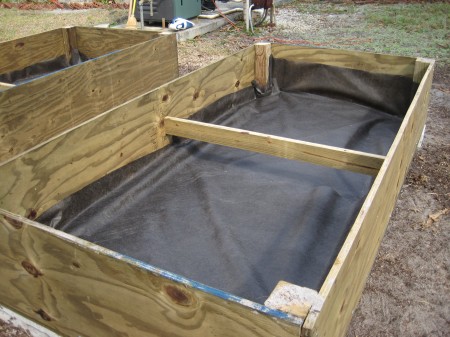
One 2×4, cut to the inside measurement of the box, is screwed in place vertically about 6 inches from the top of the box.
The 2×4 provides support to keep the sides of the box from bowing out once it is filled with soil.
The plywood bottom is bolted to the 4x4s in the corners. Extra stability is added with eight 12-inch long sections of 2×4. Bolts are screwed through the plywood bottom and the sides of the box into the 2x4s.
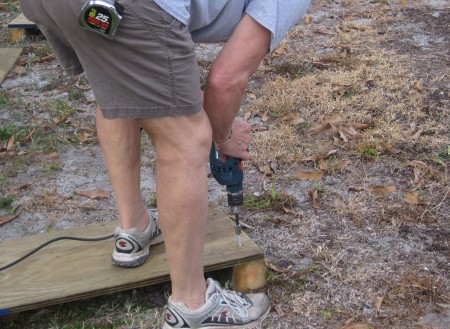
Holes, one inch in diameter, are drilled into the bottom of the box to allow water to drain.
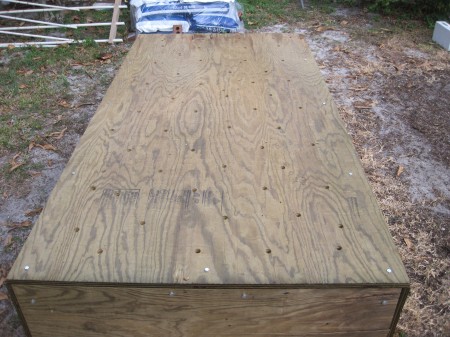 Holes Drilled in Bottom of Box
Drilling holes through pressure treated plywood leaves rather large splinters at the exit site, so I suggest drilling from inside the box out the bottom. That will leave a smooth hole that will not snag the weed barrier.
Placement of the Raised Garden Box
The garden boxes are finished and ready to be set on the 4-inch concrete blocks.
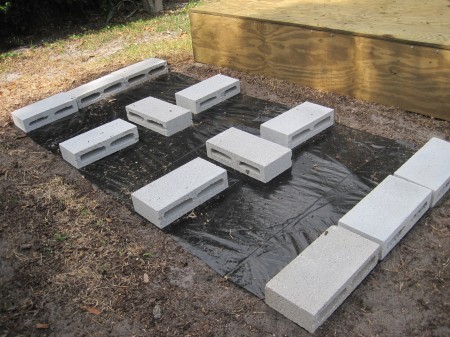 Concrete Block on Black Plastic
Because of the nematodes in my yard and some impressive ‘super-root’ St. Augustine grass that made its way up between the box and the weed barrier last season, a sheet of 4×8-foot black plastic goes on the ground first.
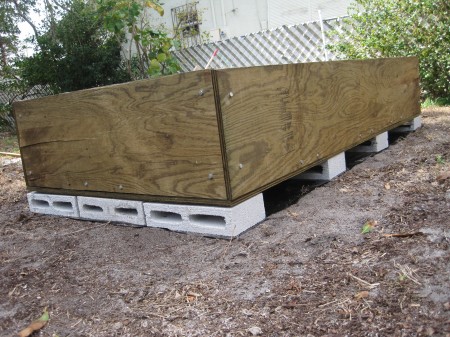 Garden Box on 4-inch Concrete Blocks
Twelve 4-inch concrete blocks are laid on their sides, evenly across the plastic, to support the garden boxes.
Weed Barrier
The box has holes in the bottom to drain the water, so it has to have something to contain the soil. A weed barrier is the perfect choice. It is sturdy and allows water and air to pass through it, but no soil.
Since I built my first garden several years ago, weed barrier material has improved substantially. The newer variety is sturdy, but is light weight and easy to work with.
Correct Growing Medium Is Important
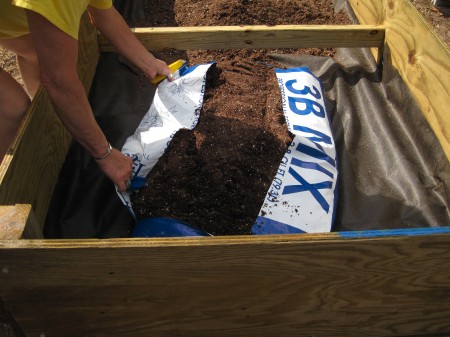
Now, the part we have all waited for… the soil goes in.
I learned, from attending the Palm Beach County Cooperative Extensive Service with the University of Florida Institute of Food and Agriculture Sciences seminar in January, that the soil used in a container garden is really important. I had no idea that there were so many choices. Following good advice, I went to a business that serves growers in this area. I told them what I was planning to plant, and they gave me what I needed.
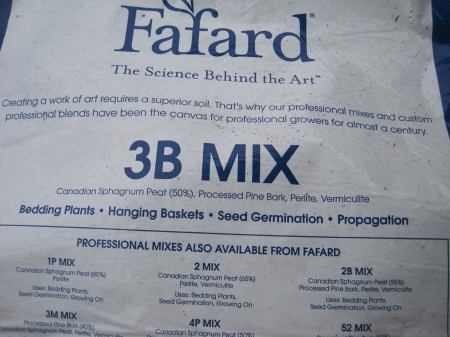
For a container garden growing vegetables, I was given 3B Mix from Fafard. It contains sphagnum peat moss, pine bark and vermiculite. I paid more for this soil than I have for any other soil I have gotten at Lowes, Home Depot in bags or at my local nursery in bulk, but I feel good about this purchase. This soil feels way better, looks better and smells different … in a good way… than anything else I have bought in previous years.
Stay tuned. I’ll let you know what comes up… and how fast and how healthy.
Tags: Construction of Raised Garden · plans and measurements for construction of raised garden · Raised Garden · soil · weed barrierNo Comments.
