Prolific Green Beans
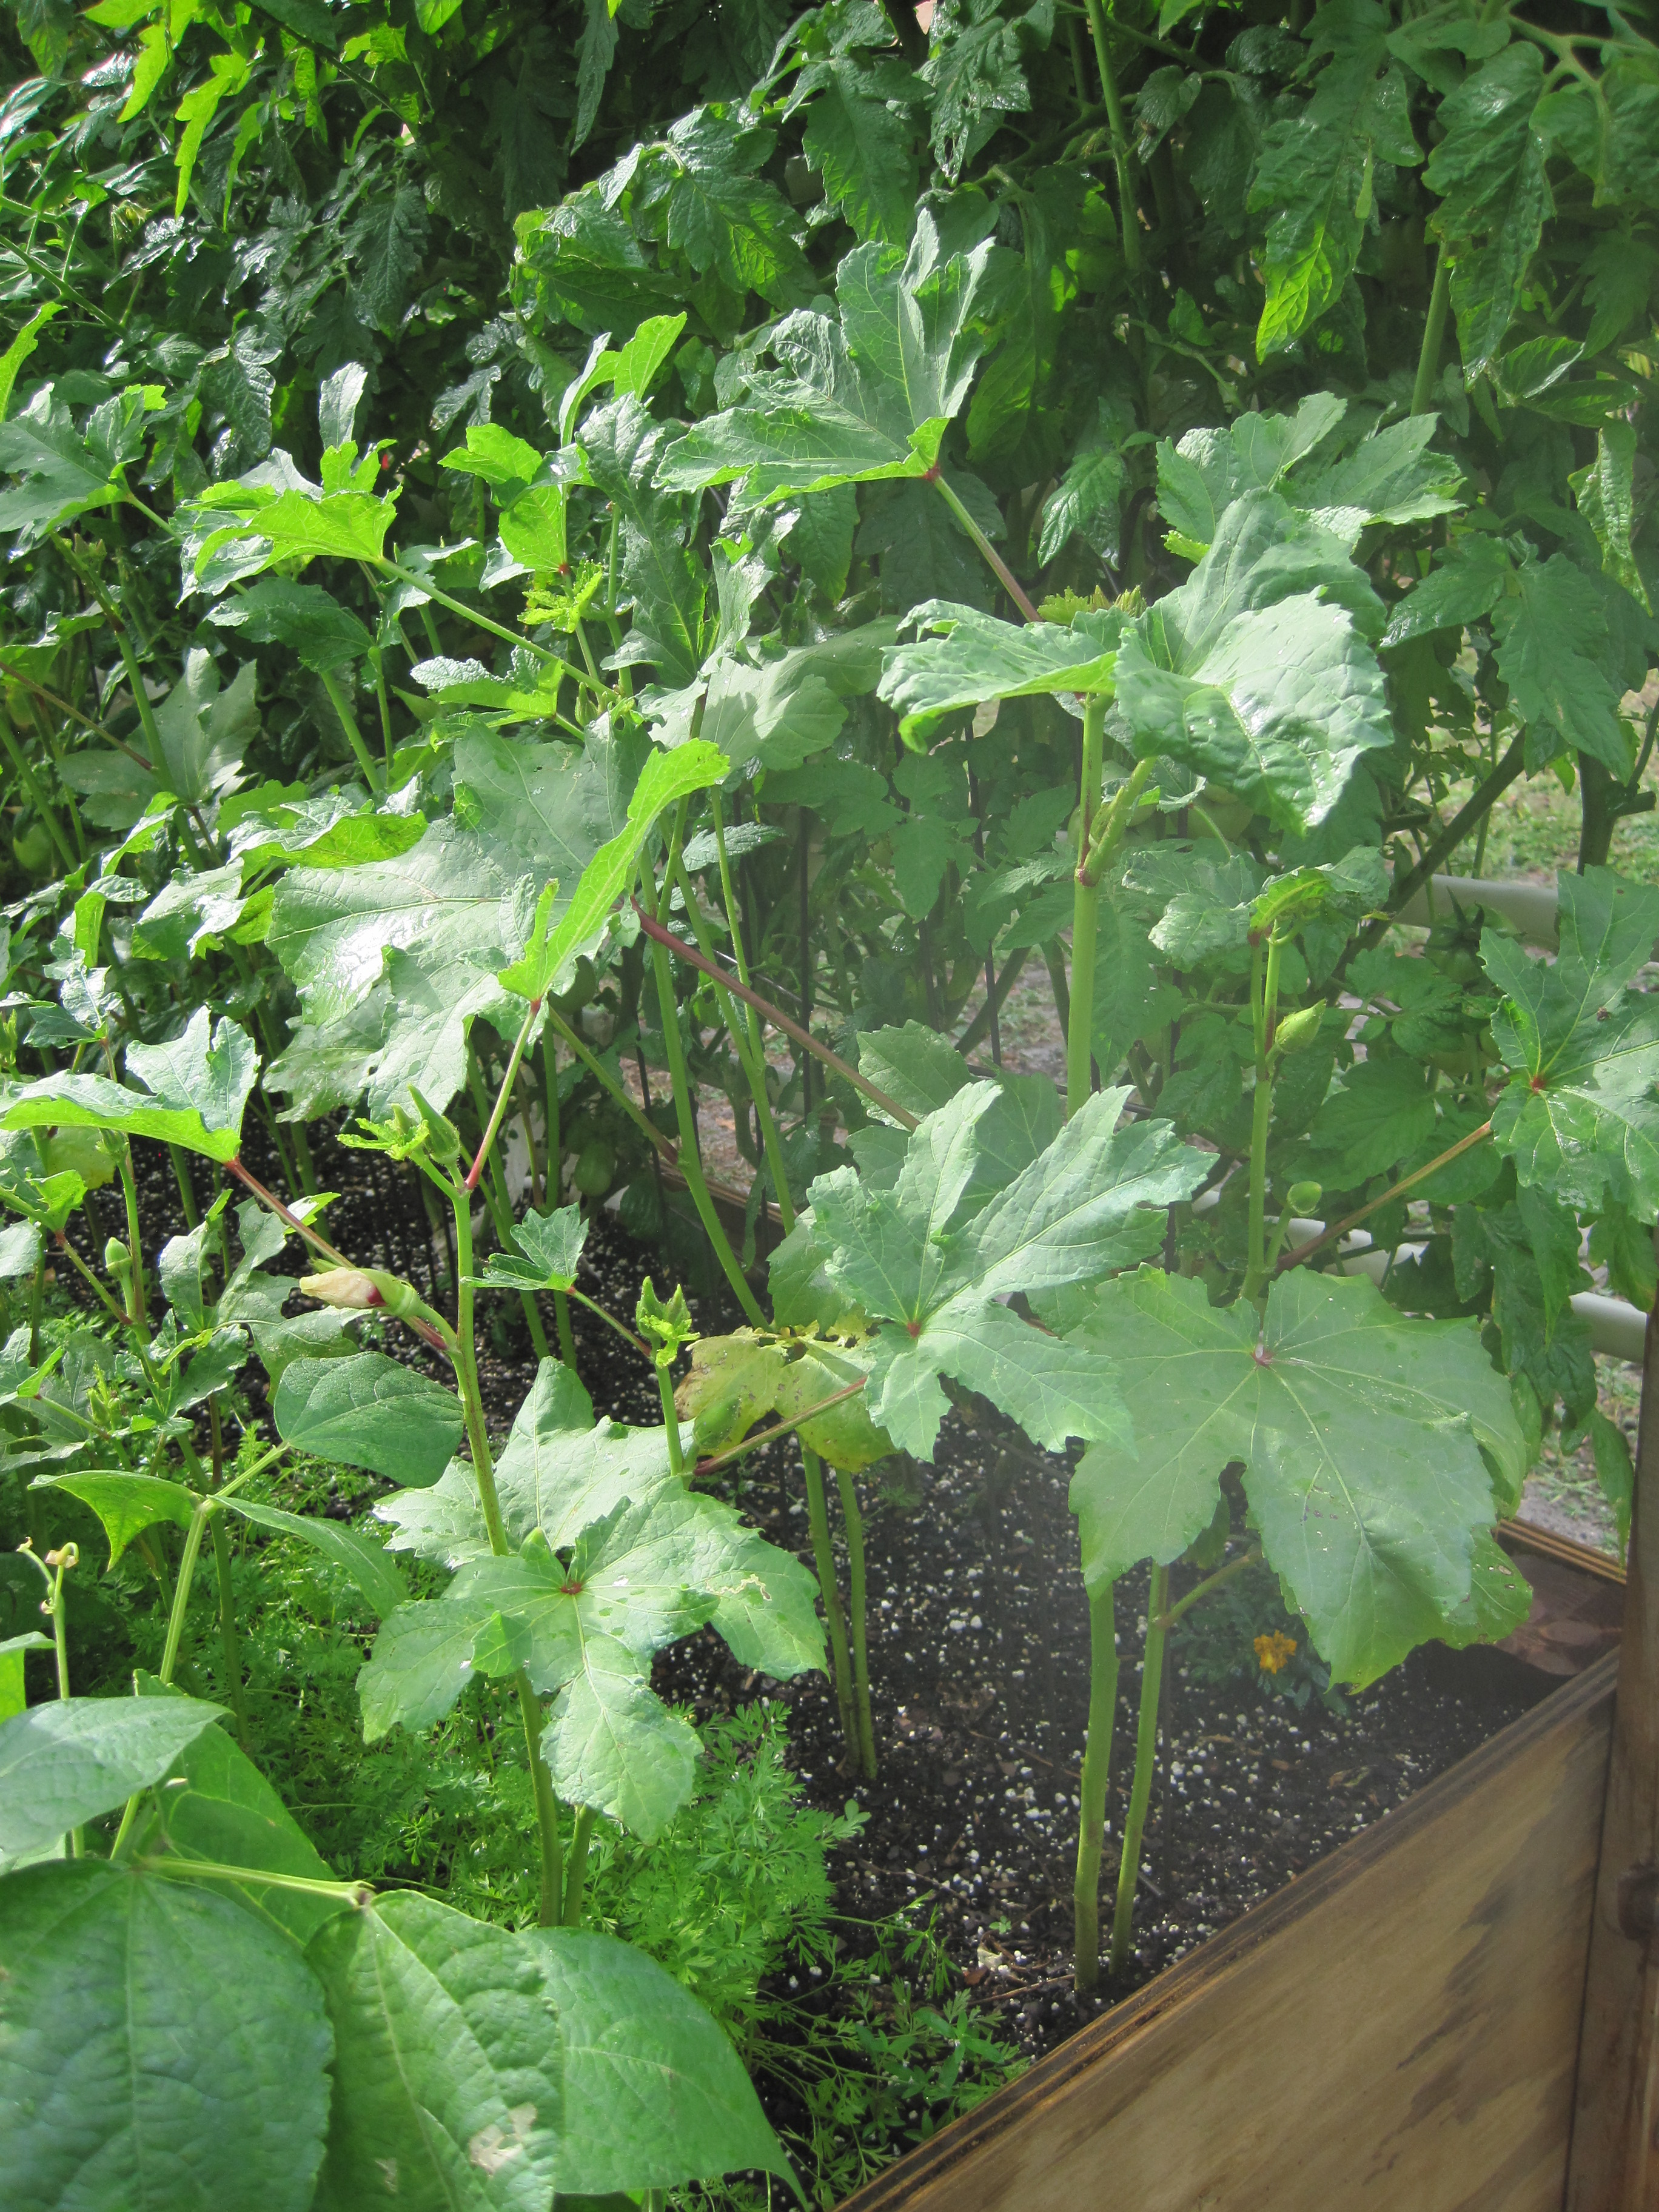
I have 10 green bean plants in my garden, and they are producing a prolific amount green beans every day.
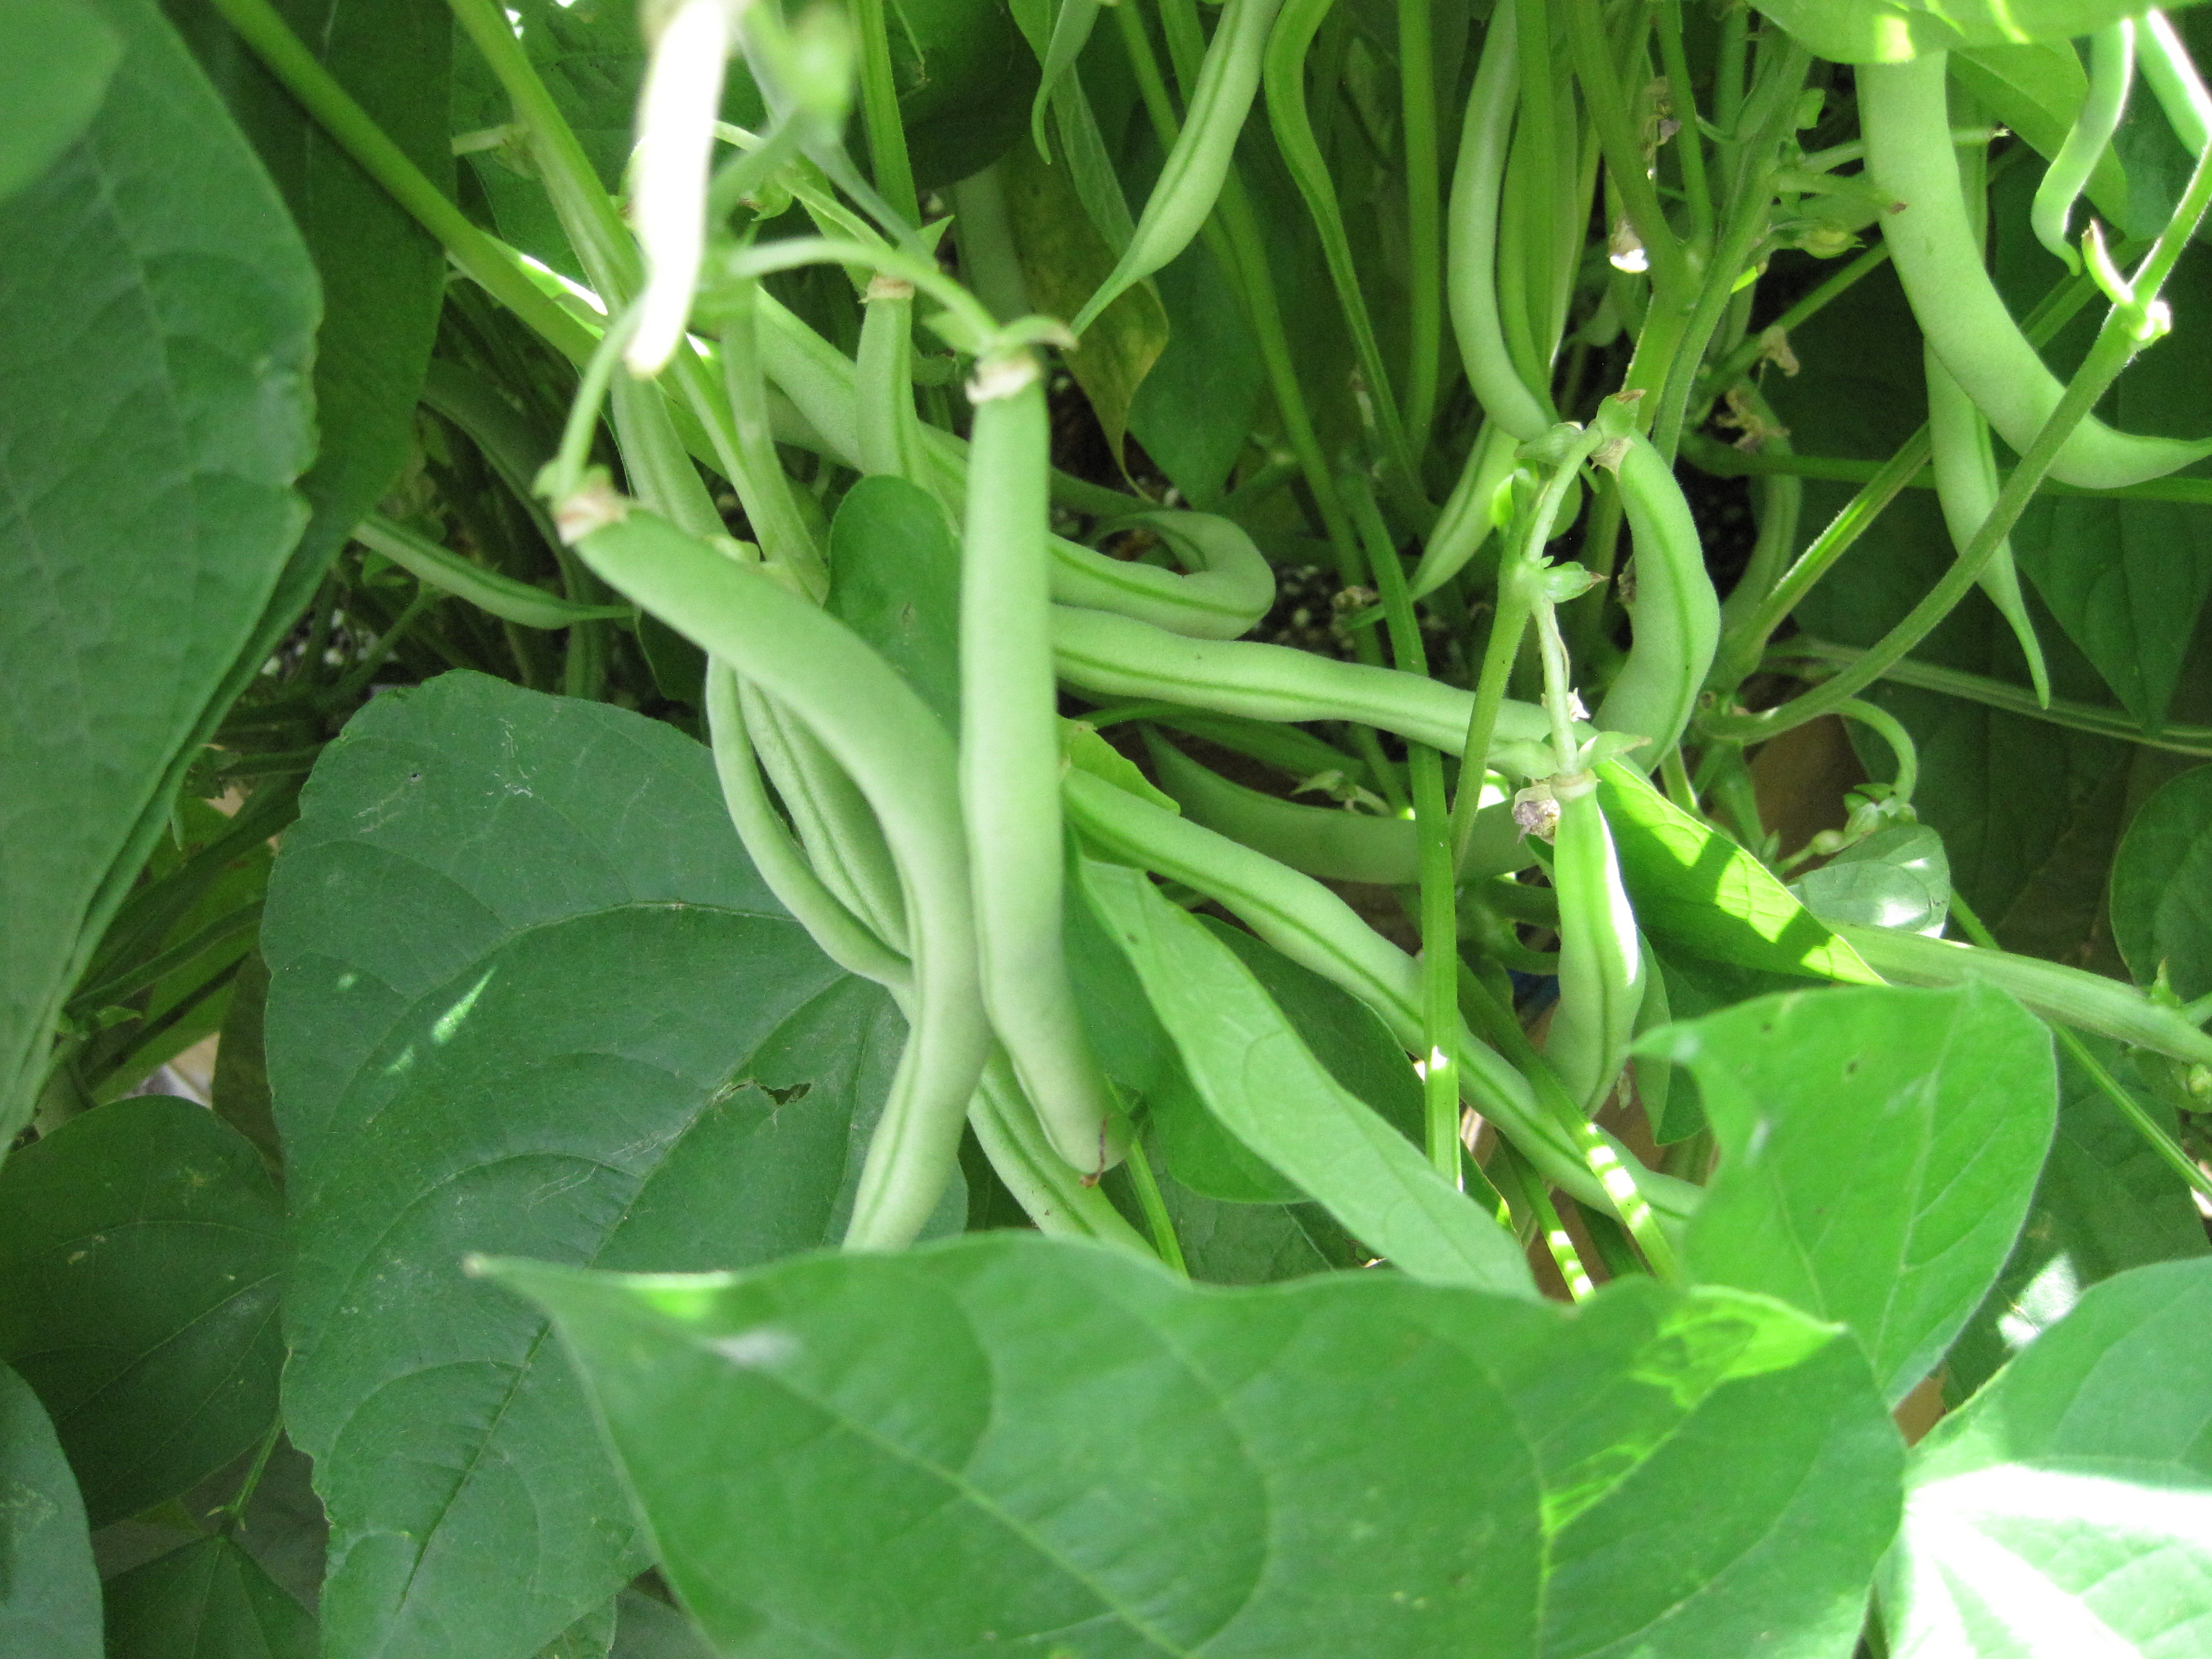
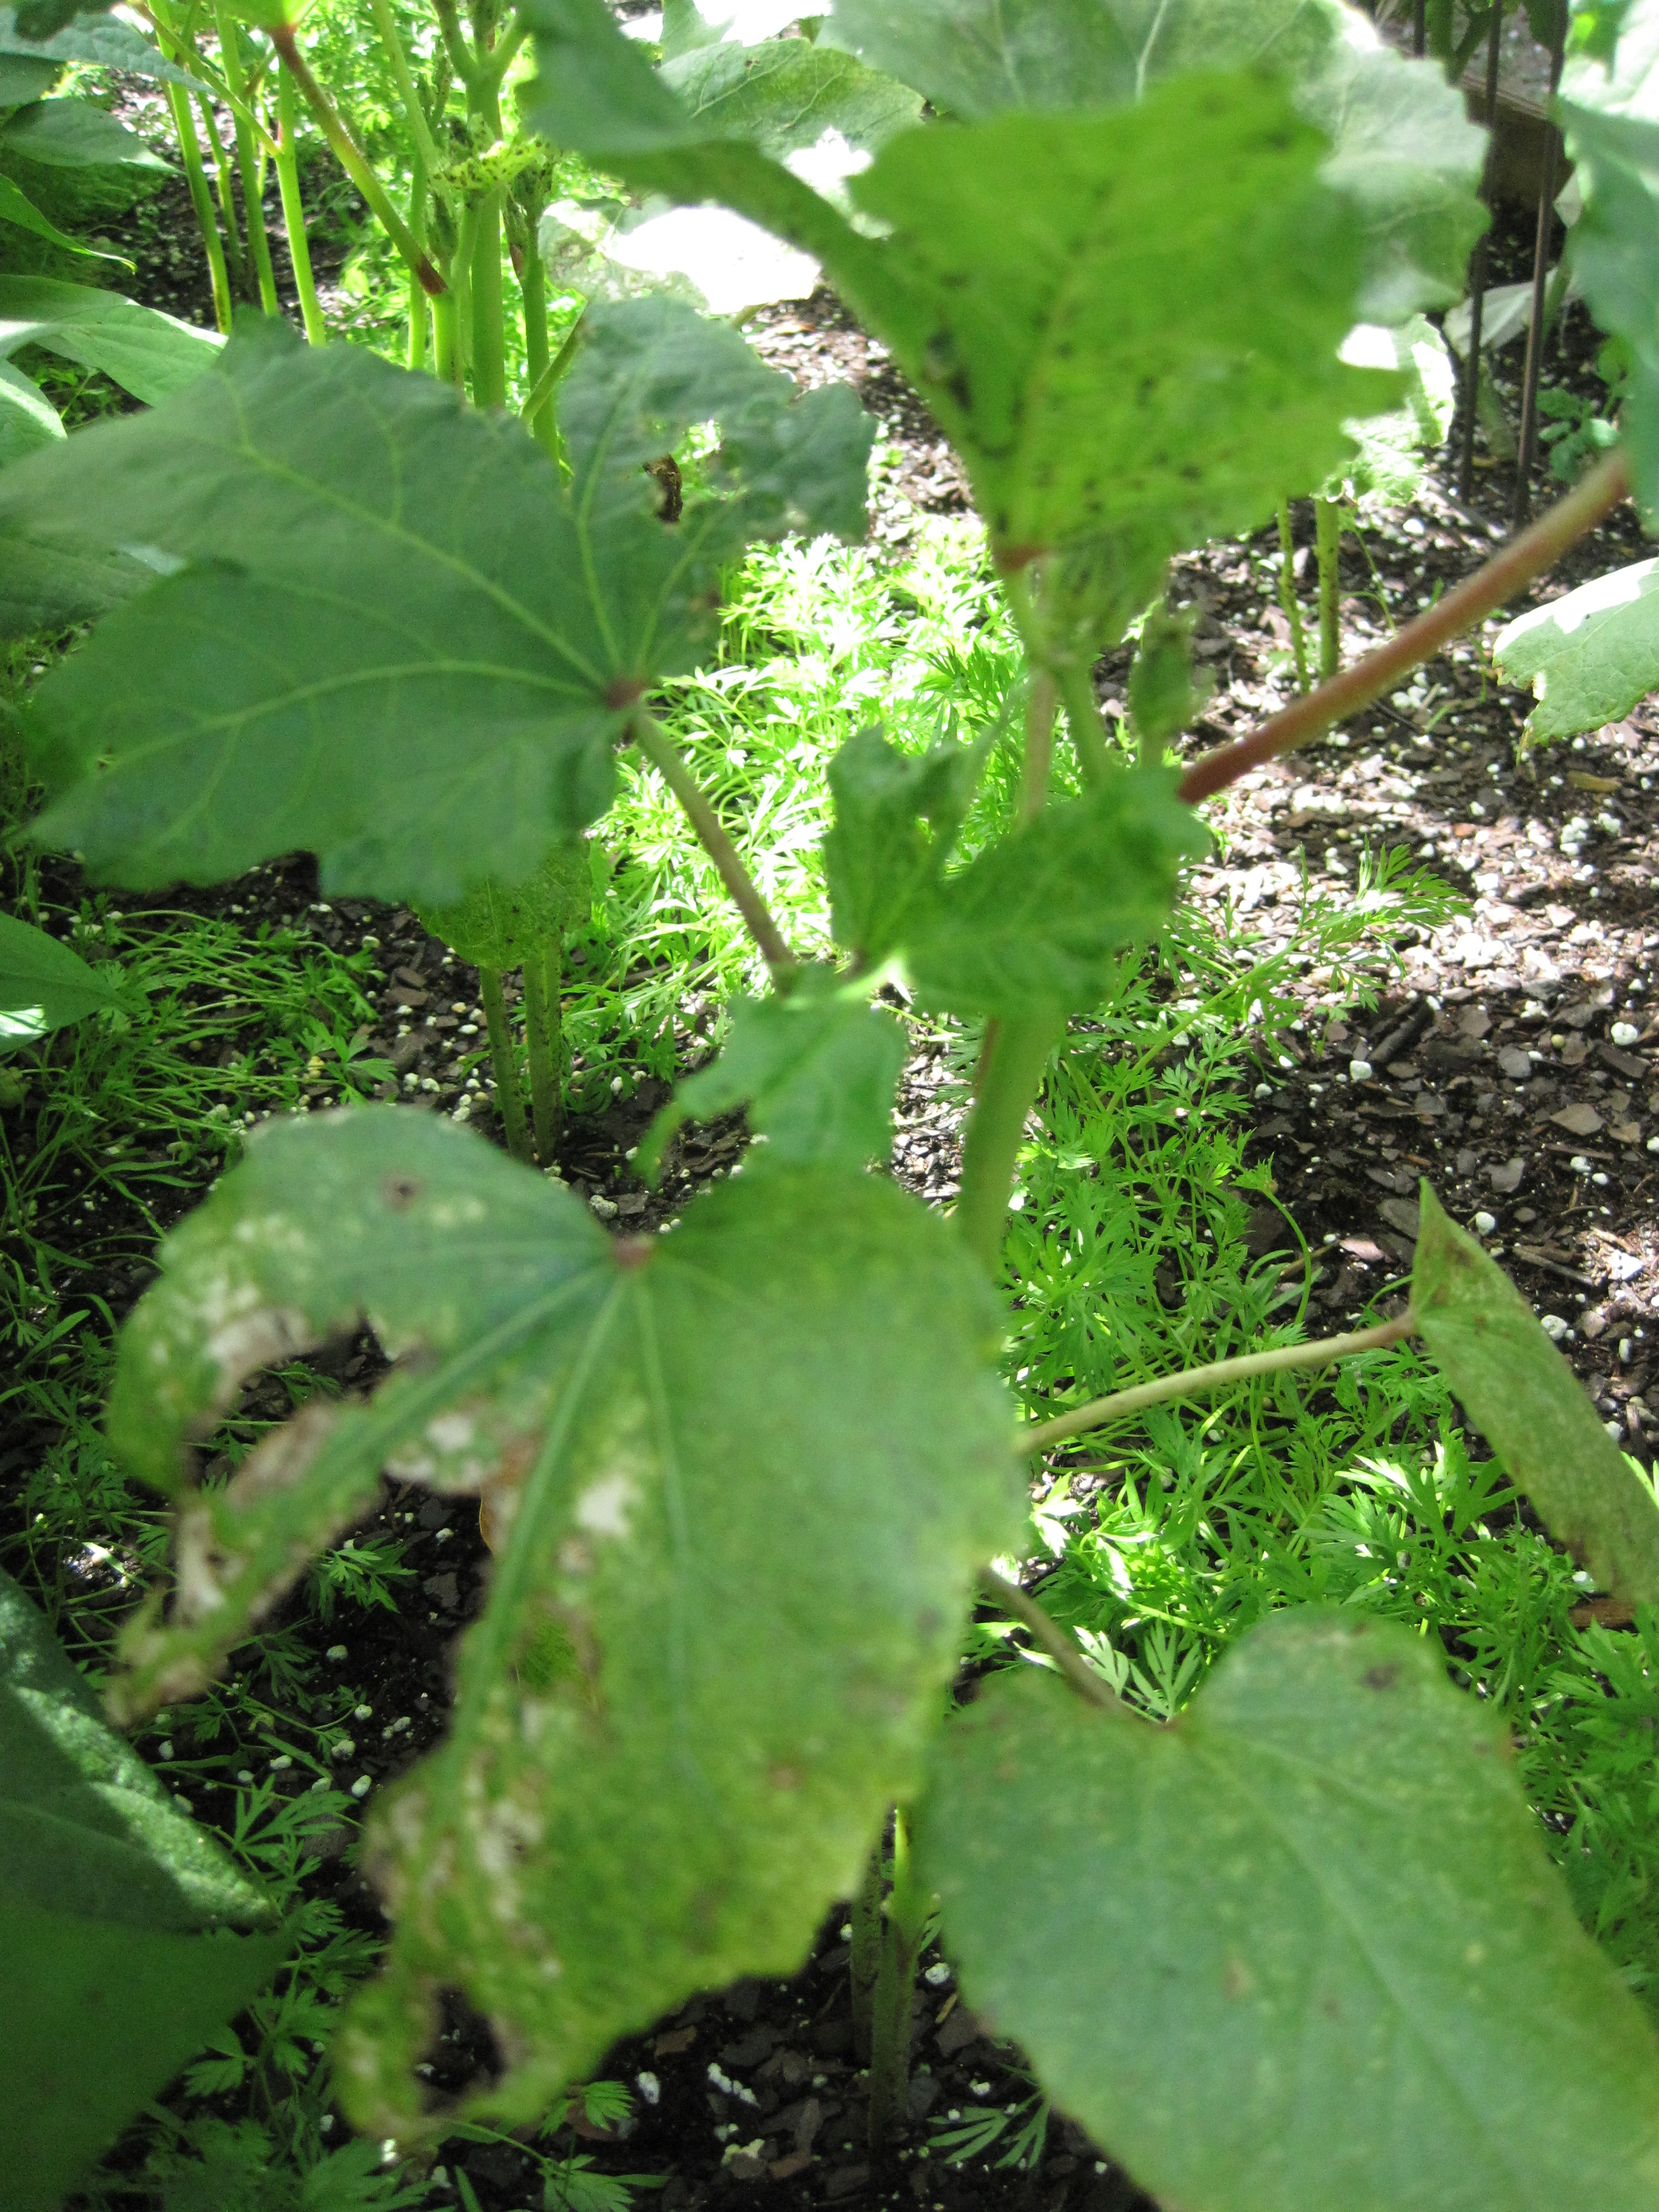
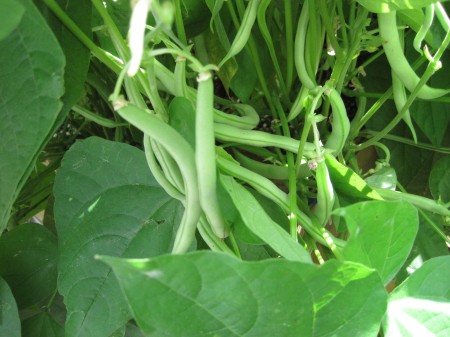 Green Beans on the Bush
When I planted, I figured 10 plants would be enough to have fresh green beans for supper a few nights a week. Boy, did I underestimate what they would produce.
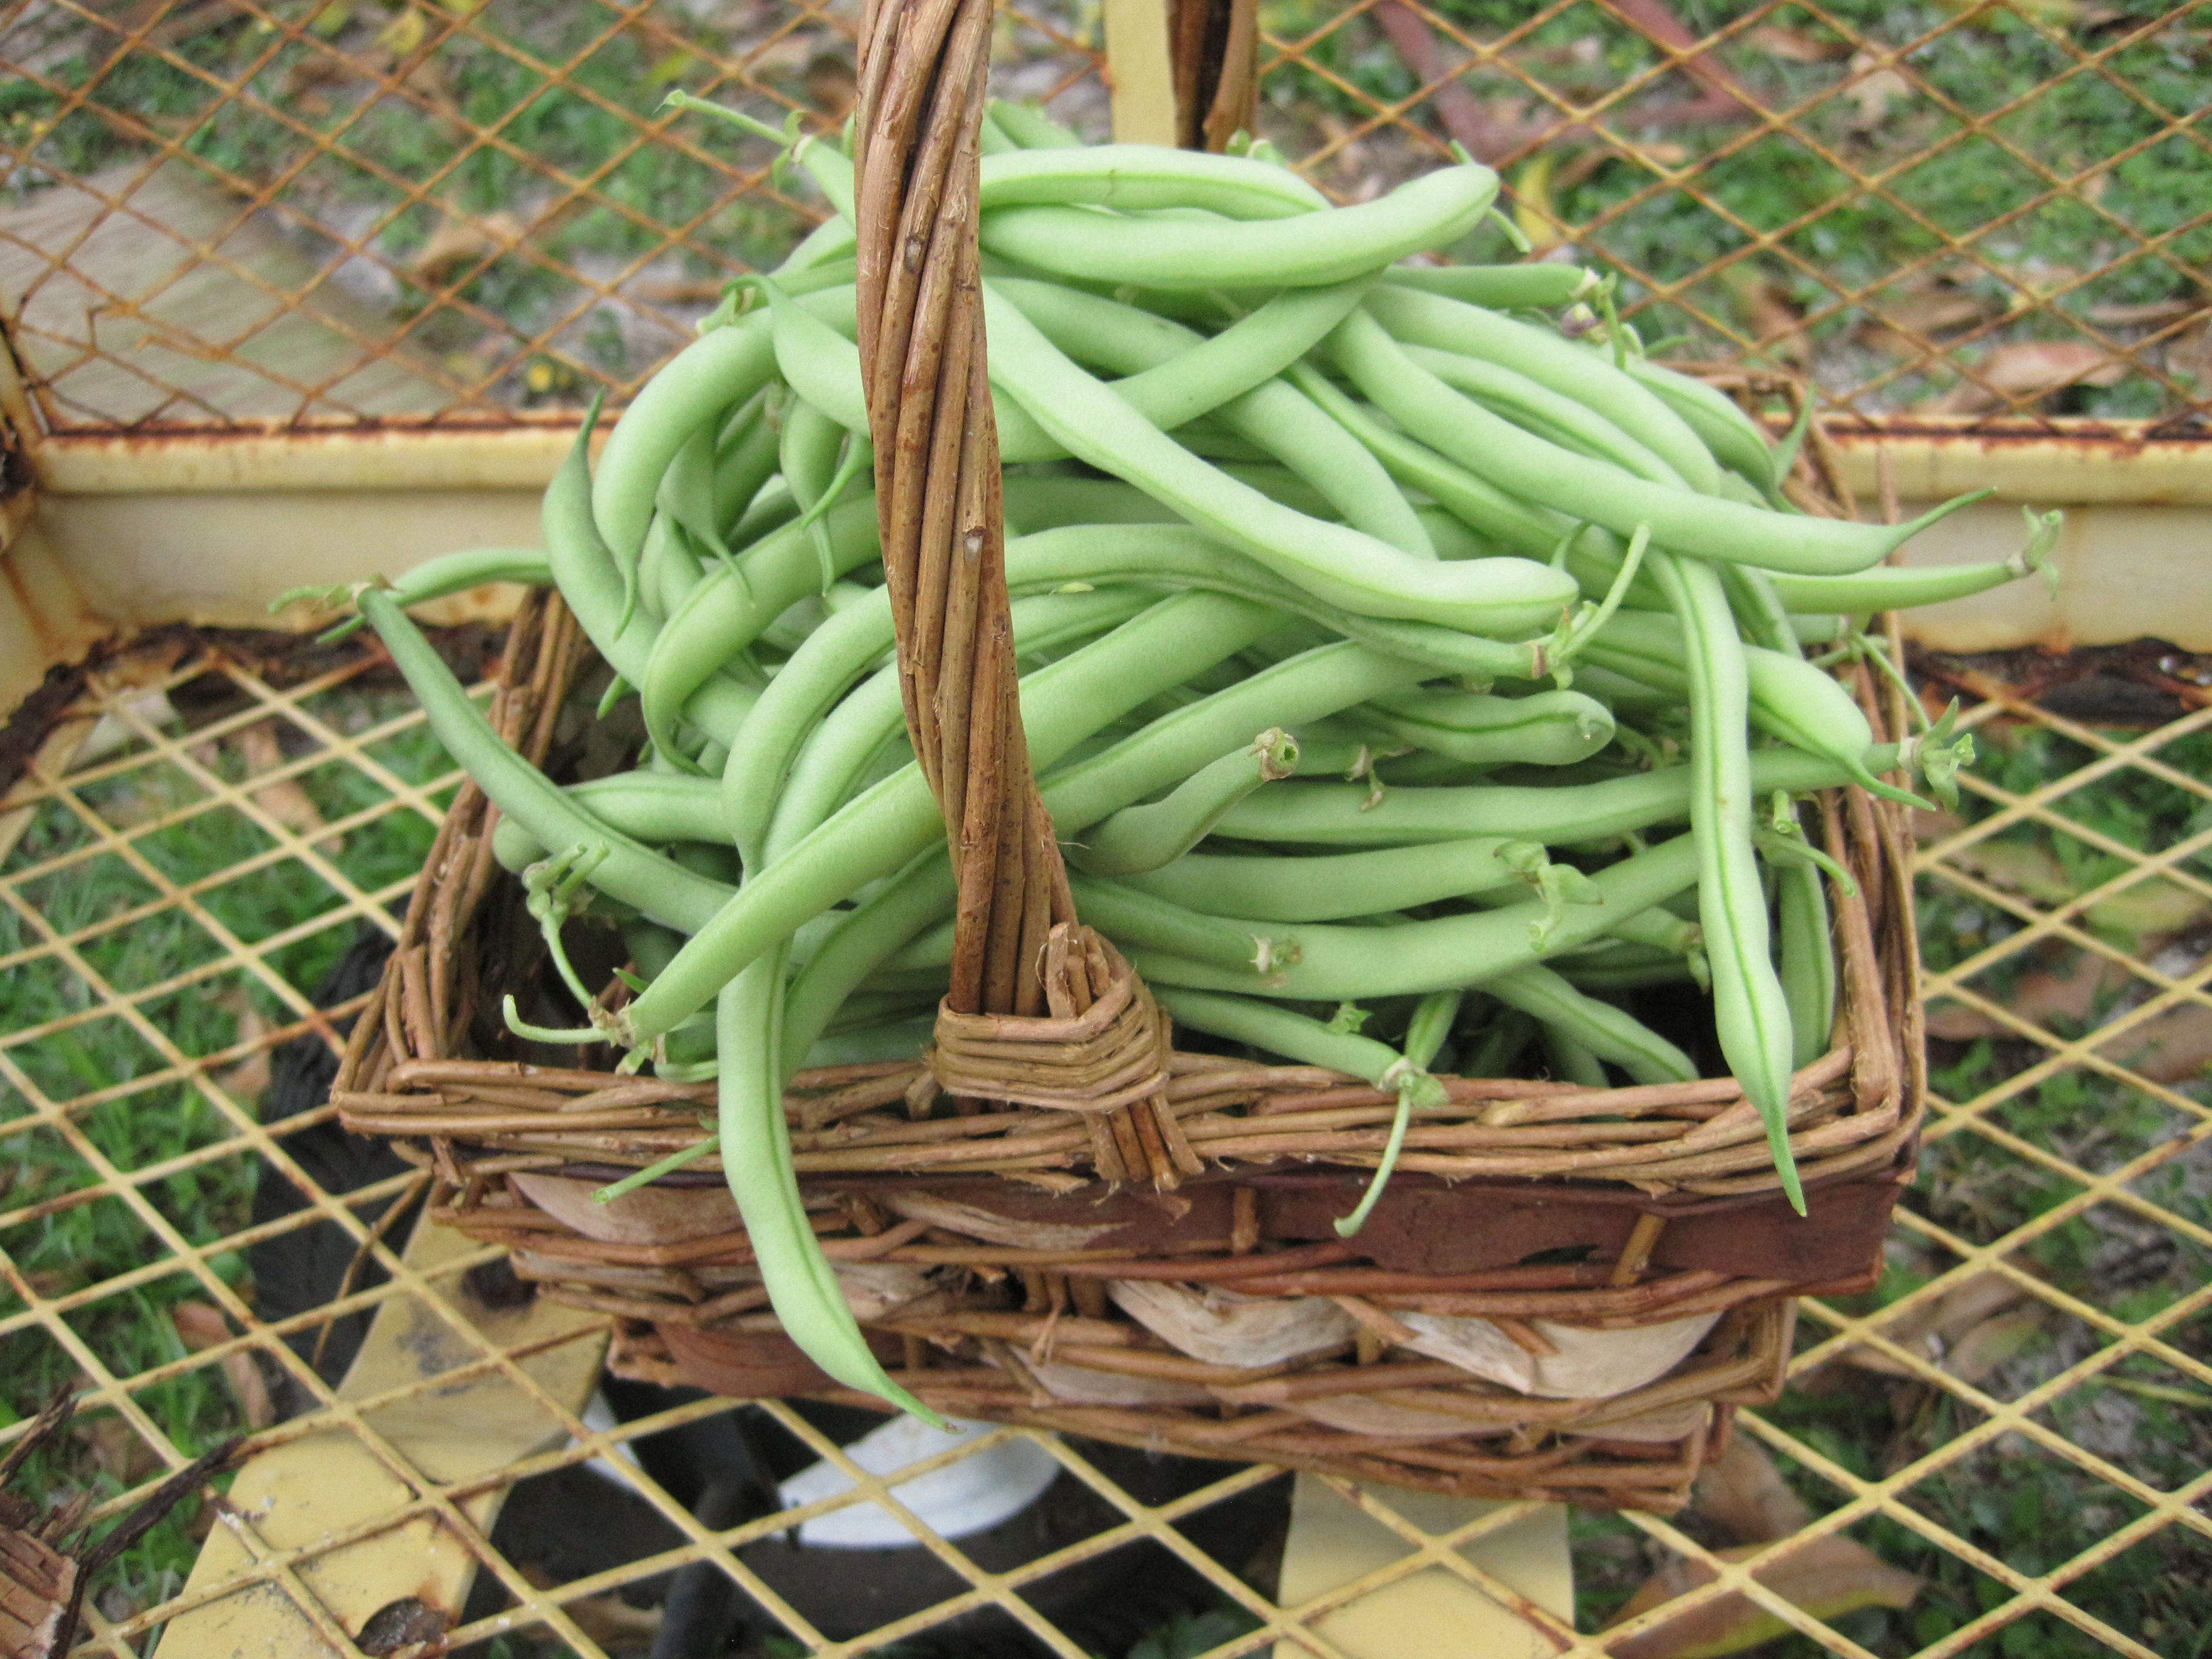
Picking Daily
I have been picking half a gallon of green beans every day for two weeks.
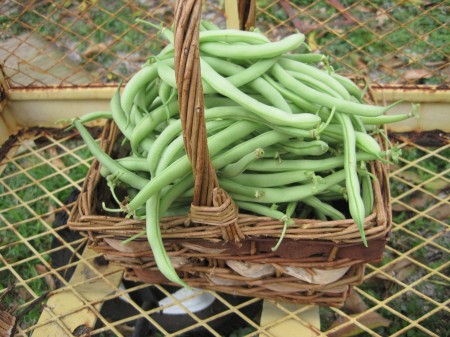
Fresh-picked Green Beans
Not only do I have more than enough for my table, I have given them away to neighbors, friends and relatives… and I still have way too many green beans. I don’t want anything growing in my garden to go to waste, so I decided that canning the green beans was the answer.
What Is Needed
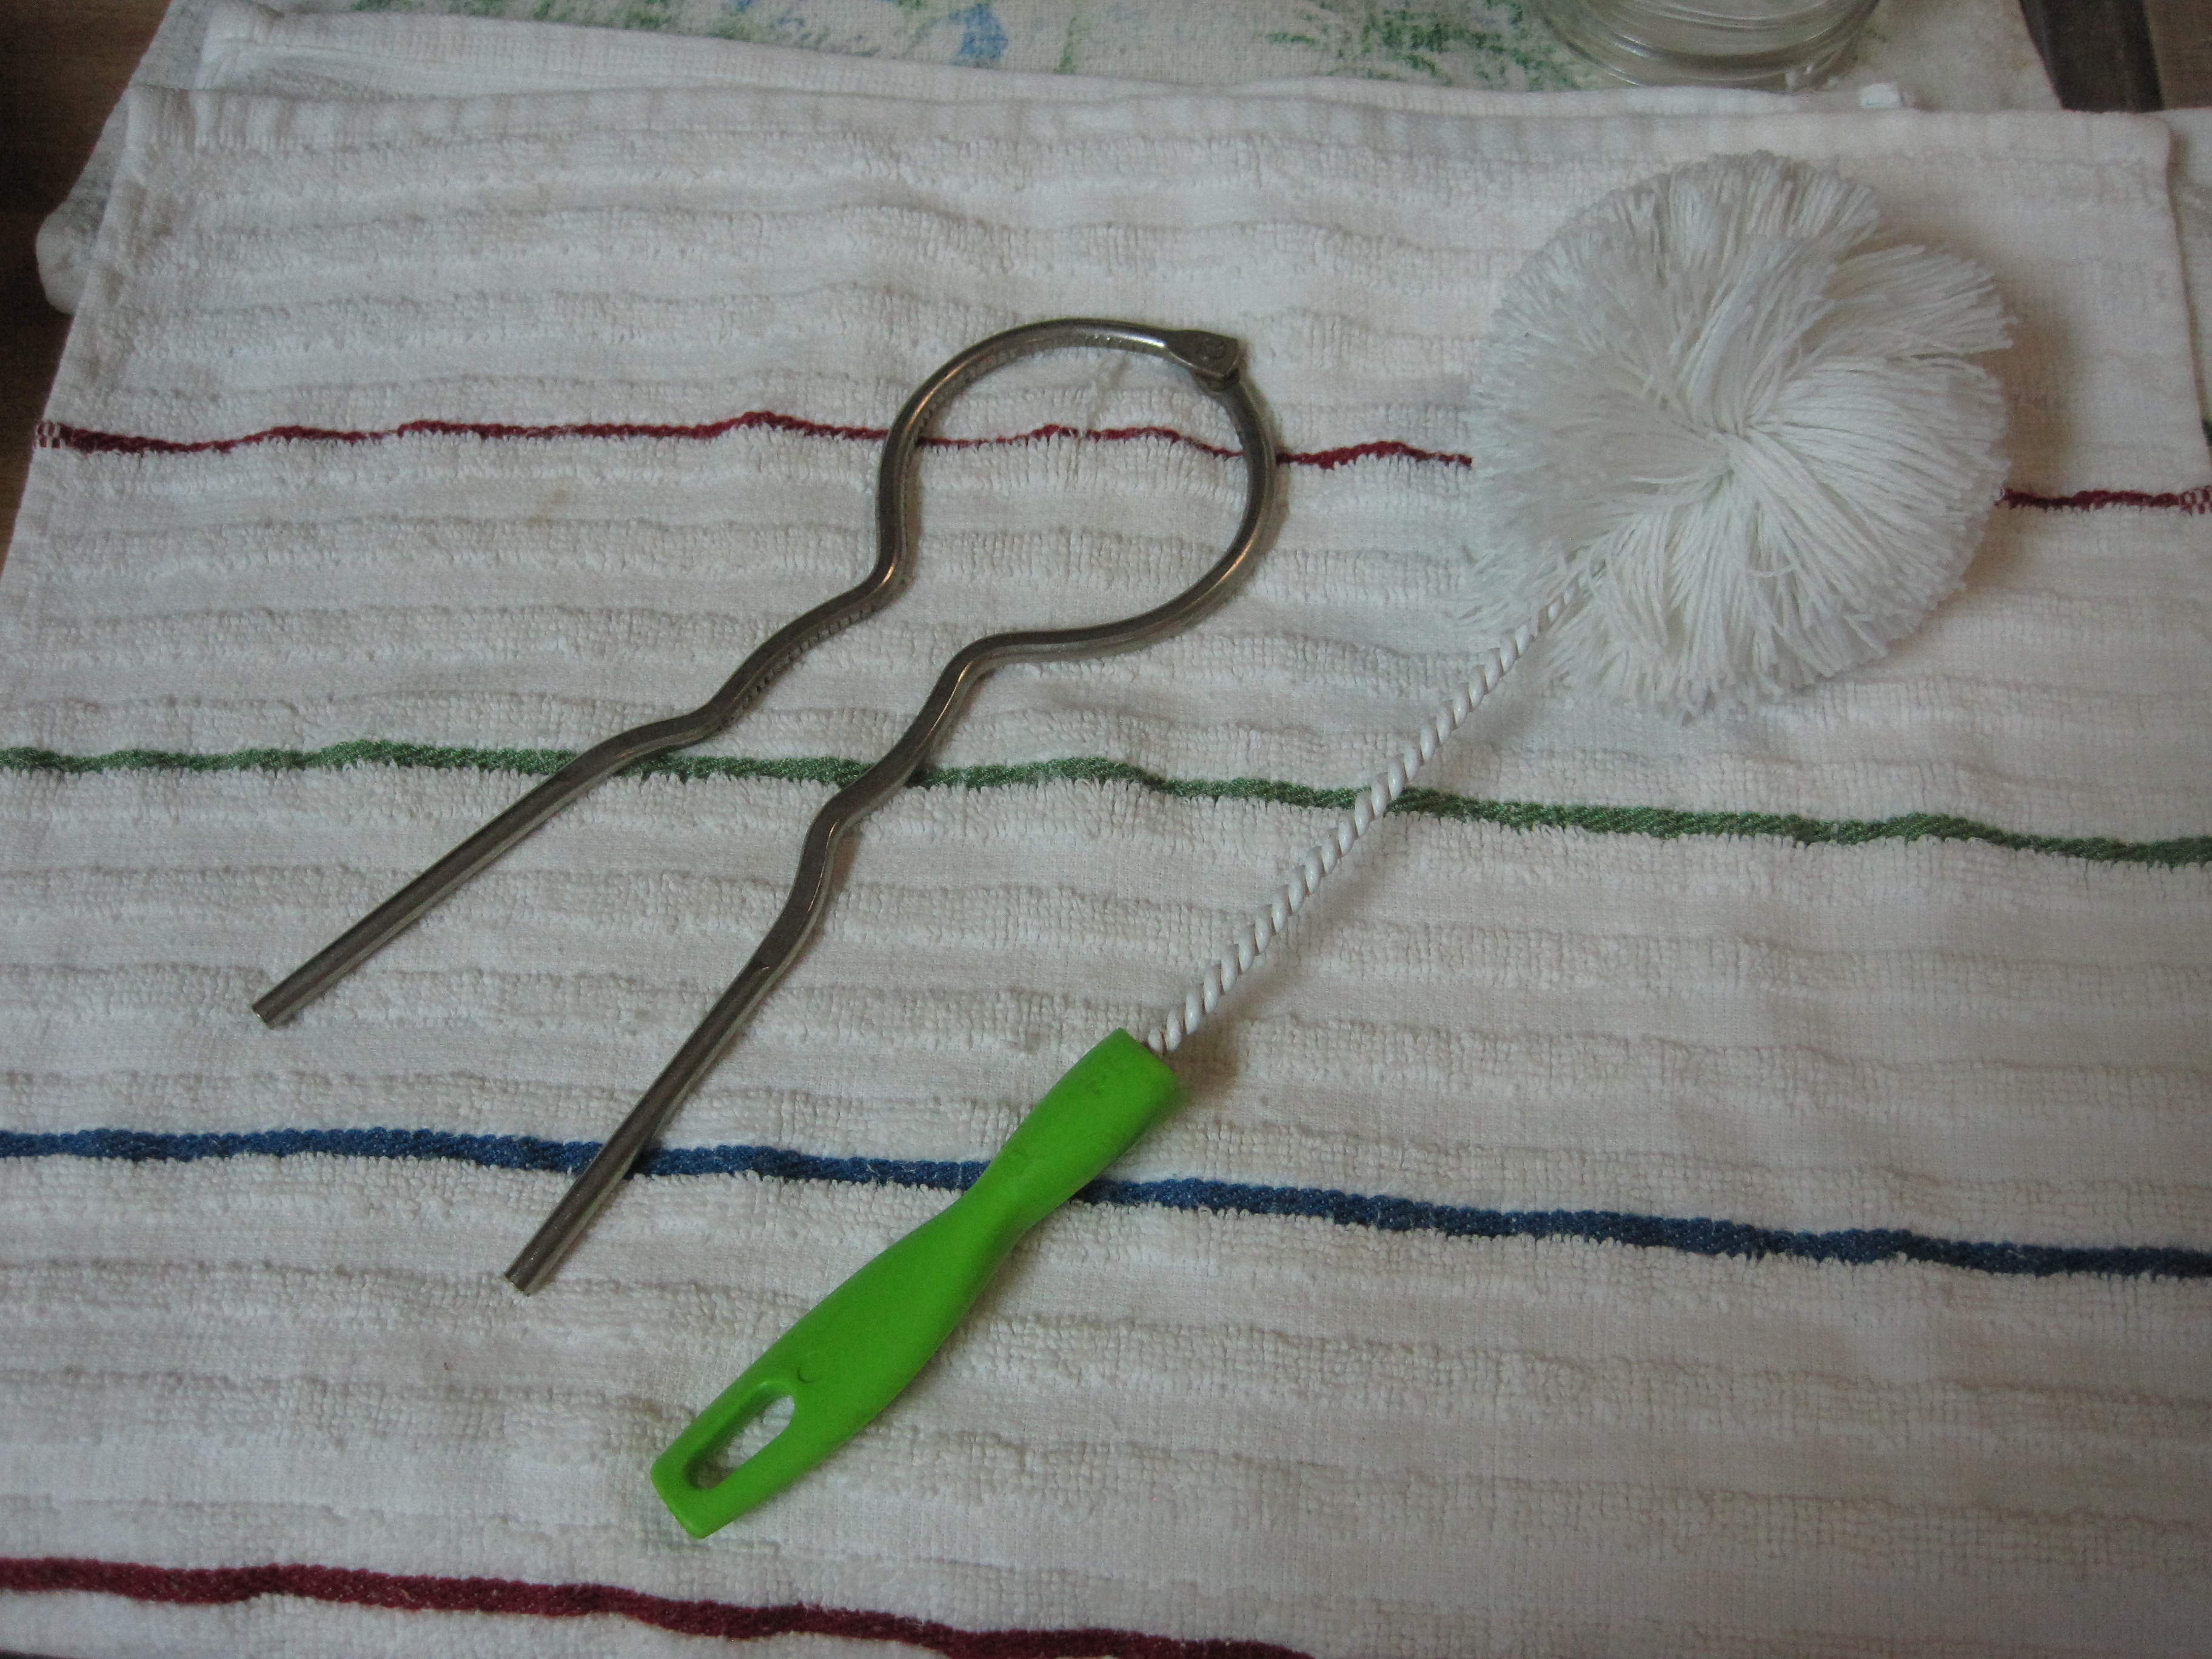
I haven’t canned green beans in more than 30 years, but it seems to be like riding a bike… you never forget how. Besides a pressure cooker, I have two items that I have owned ever since I can remember… a jar mop to wash the jars and a jar wrench.
 Jar Wrench and Jar Mop
A jar wrench is actually used to open jars and bottles, but I have always used it to lift the jars from the pan after they have been processed… my own form of multi-purposing.
Use Clean Jars and Lids
The steps have been the same since I was a little girl snapping green beans and watching my grandmother, Christina Hoffman, can them.
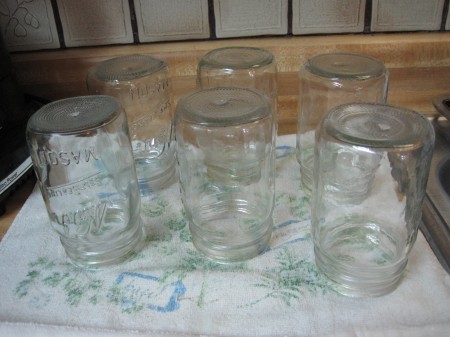 Sterilized Canning Jars
First, wash and sterilize the canning jars. The jars can be run through the dishwasher, but I washed mine with kitchen detergent and rinsed them with boiling water. Since I will not be cooking for more than two, I used pint jars.
Prepare the Green Beans
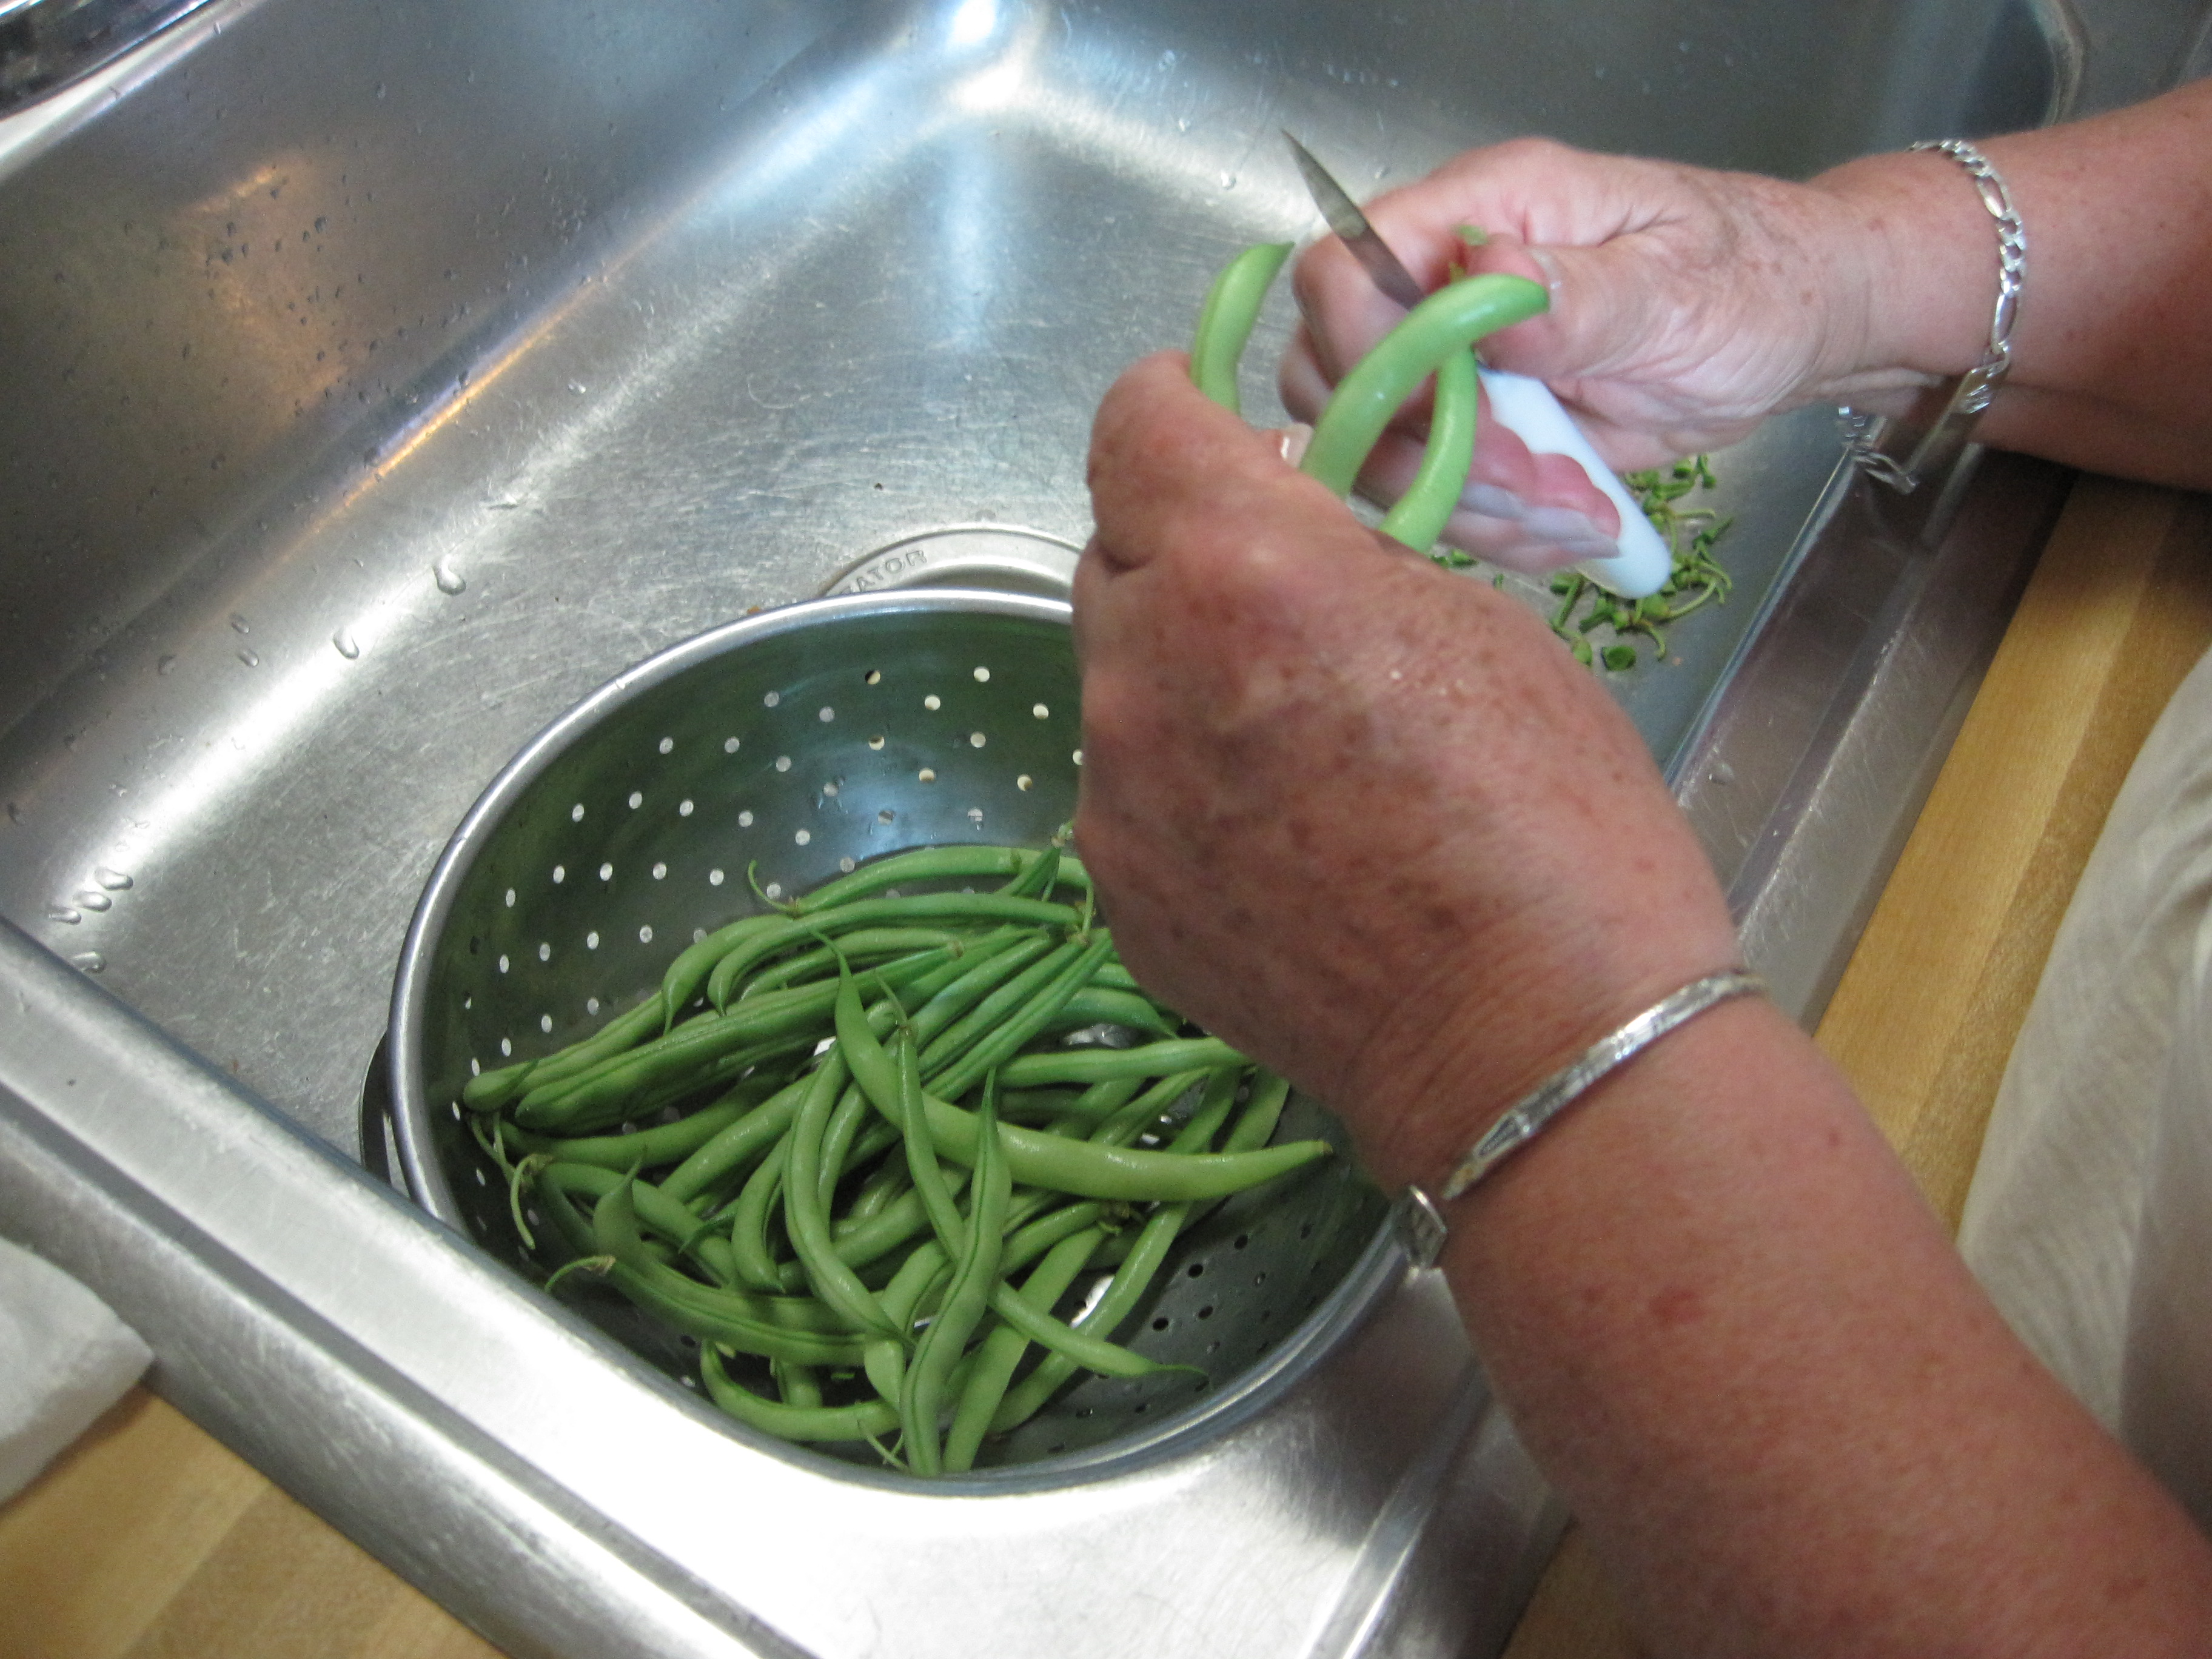
Wash the green beans, and snip the ends from them.
 Snip End from Green Beans
Snap the beans into 1-inch to 1.5-inch pieces and put them into the jars.
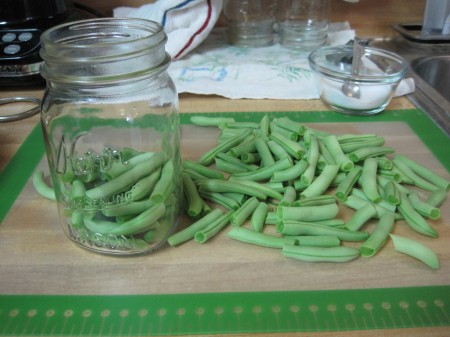 Snapped Green Beans
I add 1/4 teaspoon of salt to each pint jar, but they can be done without salt.
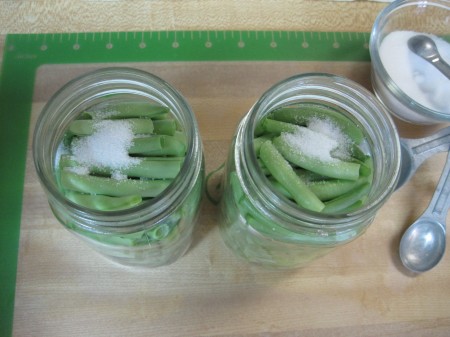 1/4 Teaspoon Salt in Pint Jars
Fill the jars with boiling water, leaving 1/2 inch of space at the top (called the head) of the jar for expansion while they cook.
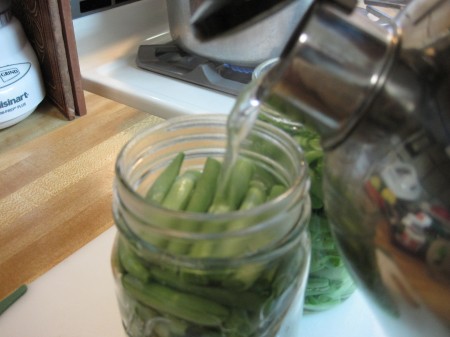 Filling Jar with Boiling Water
Pressure Cooking
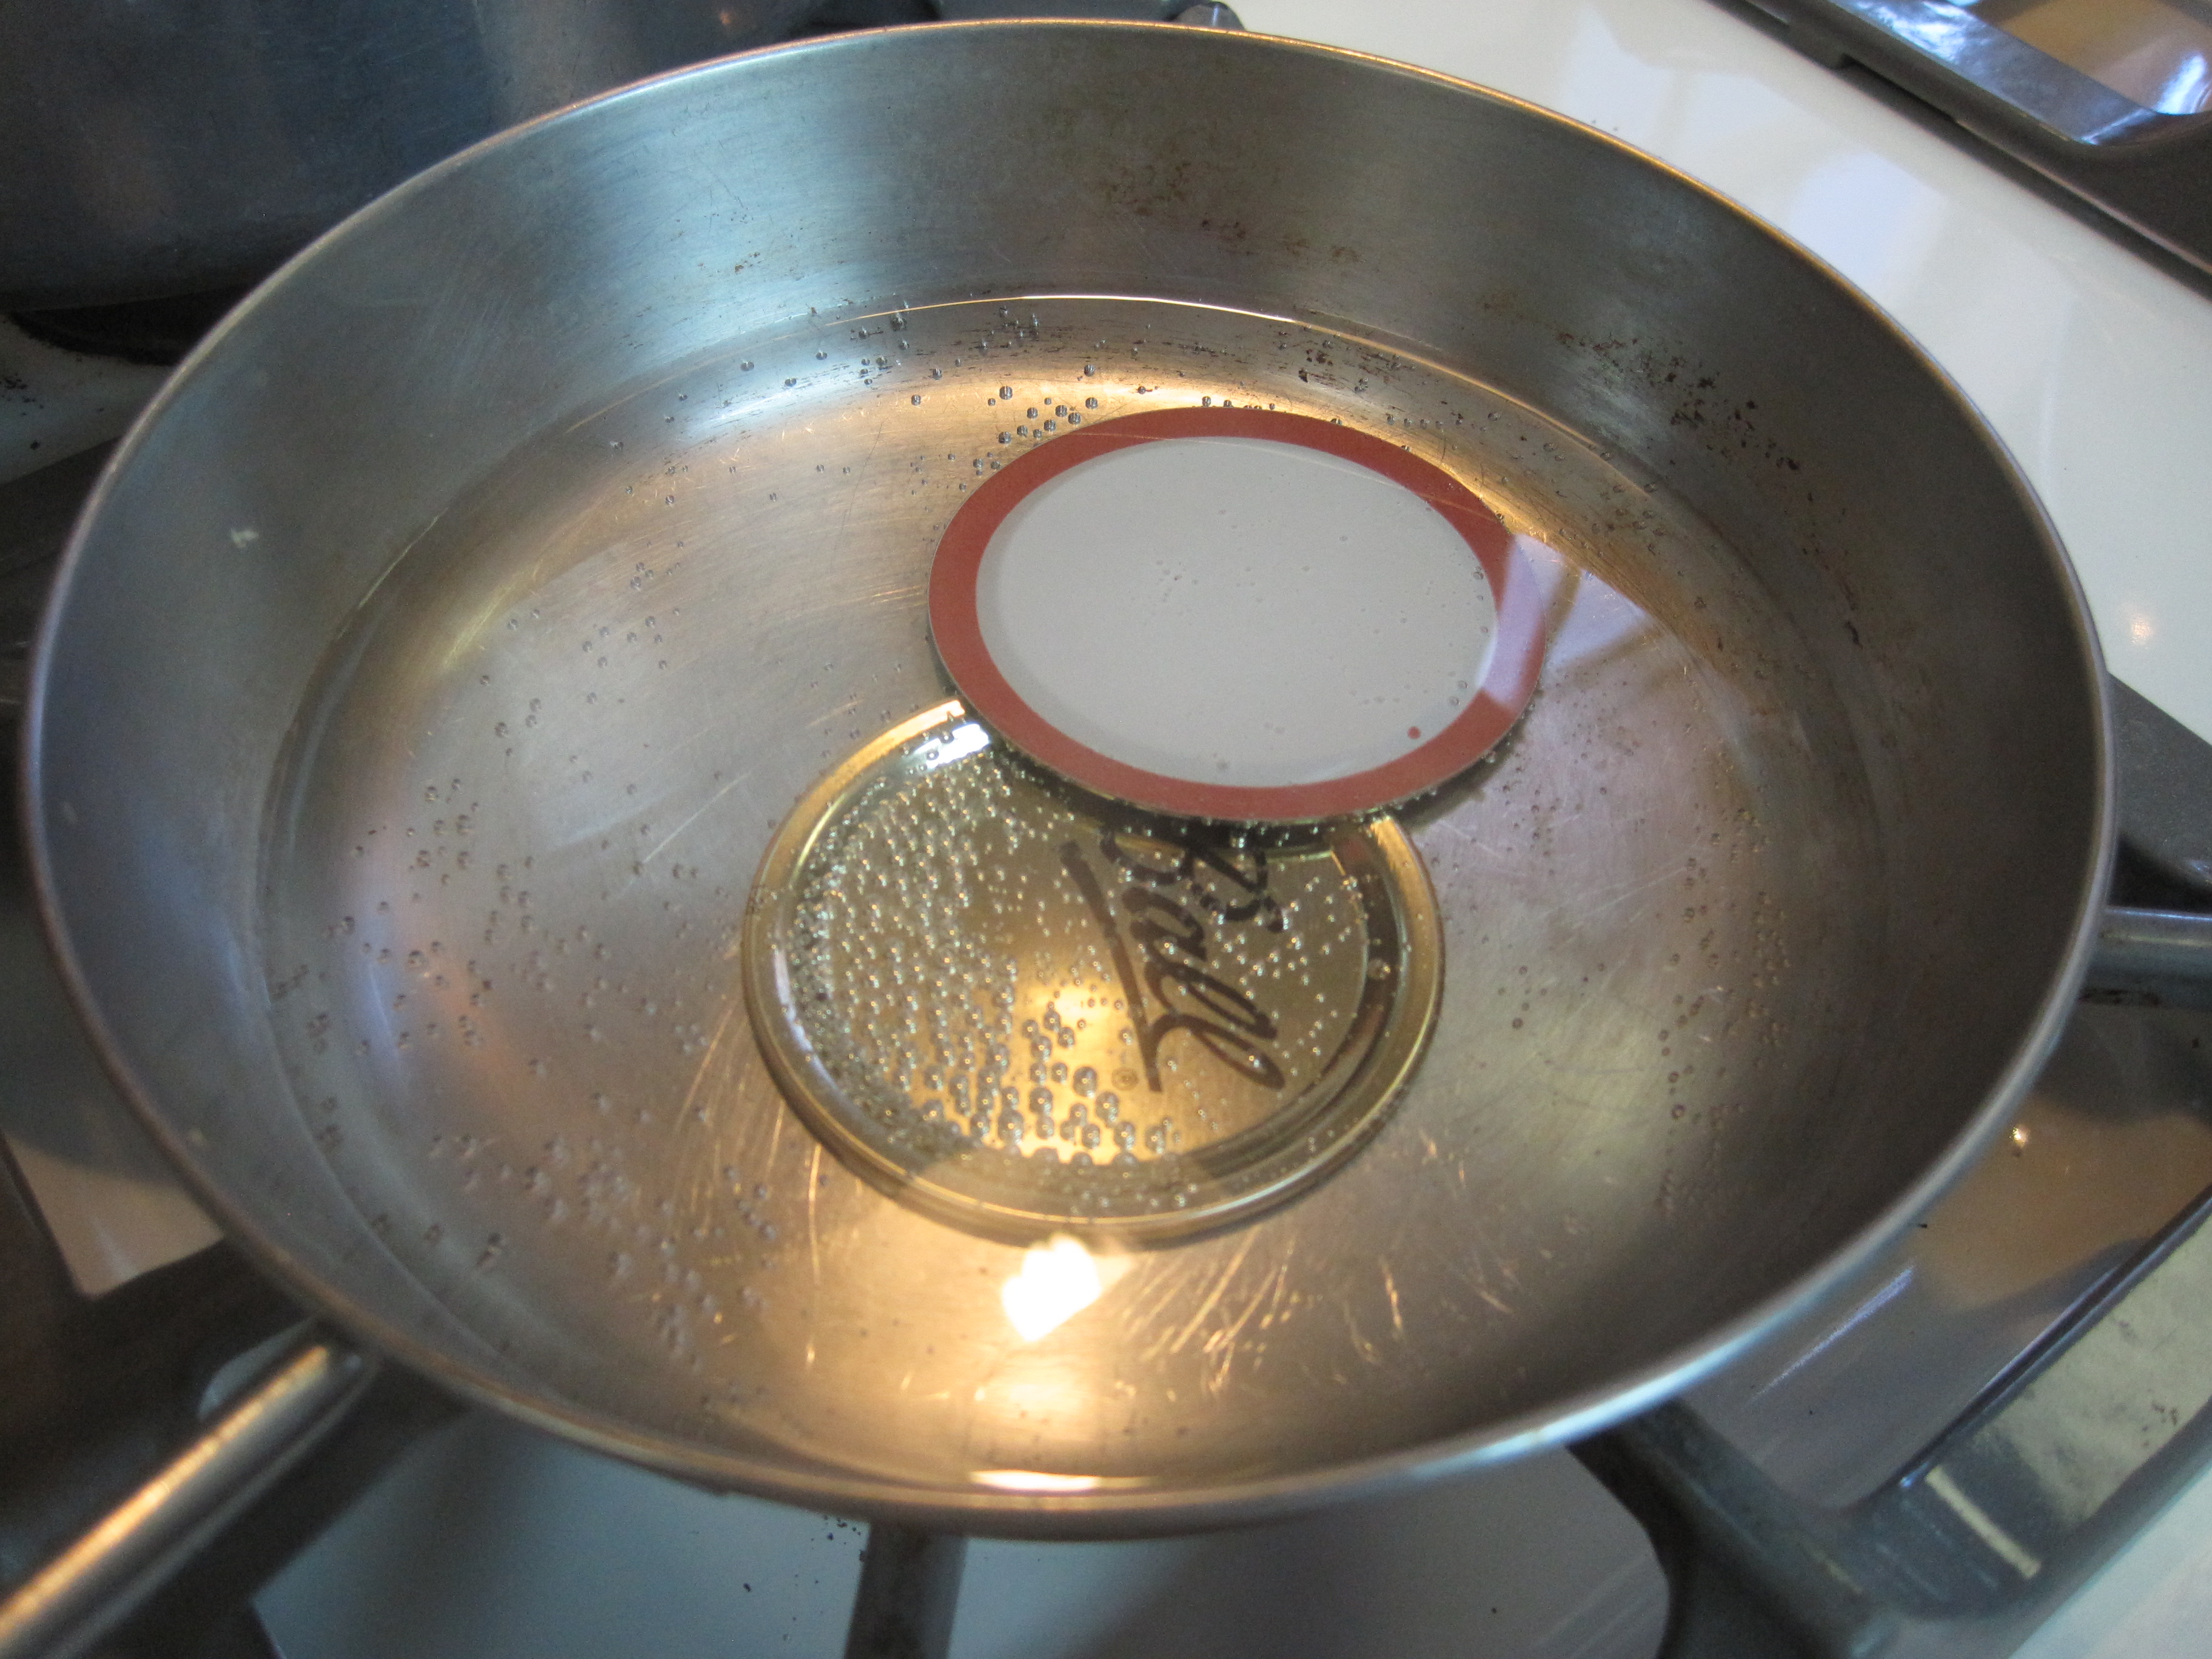
The jars must have lids and bands on them before they go into the pressure cooker. The lids must be sterilized, too.
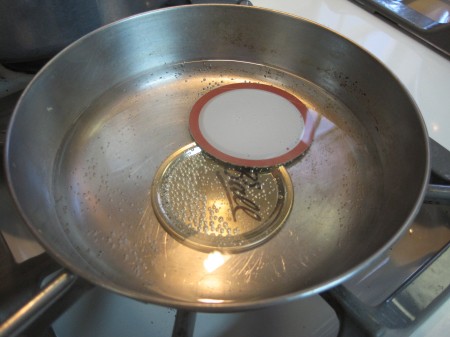 Boiling Lids
I place the lids in a pan of boiling water. They continue to boil on very low heat until I take one out to place it on the jar and cover it with a screw band. Lifting the lid out with a fork and placing it on the jar with the prong of the fork is the easiest way I have found to get the lid on the jar without touching the surface. Just be careful that the fork does not scratch the surface of the lid.
Into the Pressure Cooker
Place the bottom rack in the cooker, and then place the jars into the pressure cooker which has about three inches of boiling water in it. Placing the jars in the cooker will raise the water level up around the jars. If the water comes up too high, take a soup ladle and remove enough to leave room for the steam.
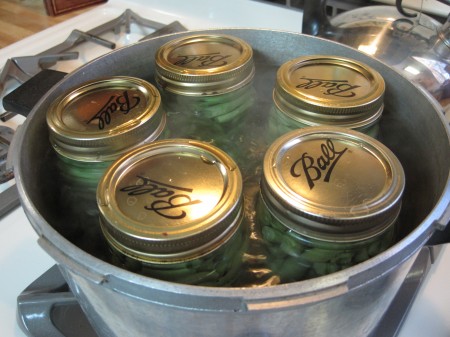 Pressure Cooker with Jars of Green Beans
Put the lid on the pressure cooker and begin timing when the steam comes out of the top and the pressure gauge is set. Green beans need 20 minutes at 10 pounds of pressure.
Completely Cool
When the jars are cooling on the counter, listen to the ‘pop’ of each lid as it seals itself… a sound of accomplishment and satisfaction.
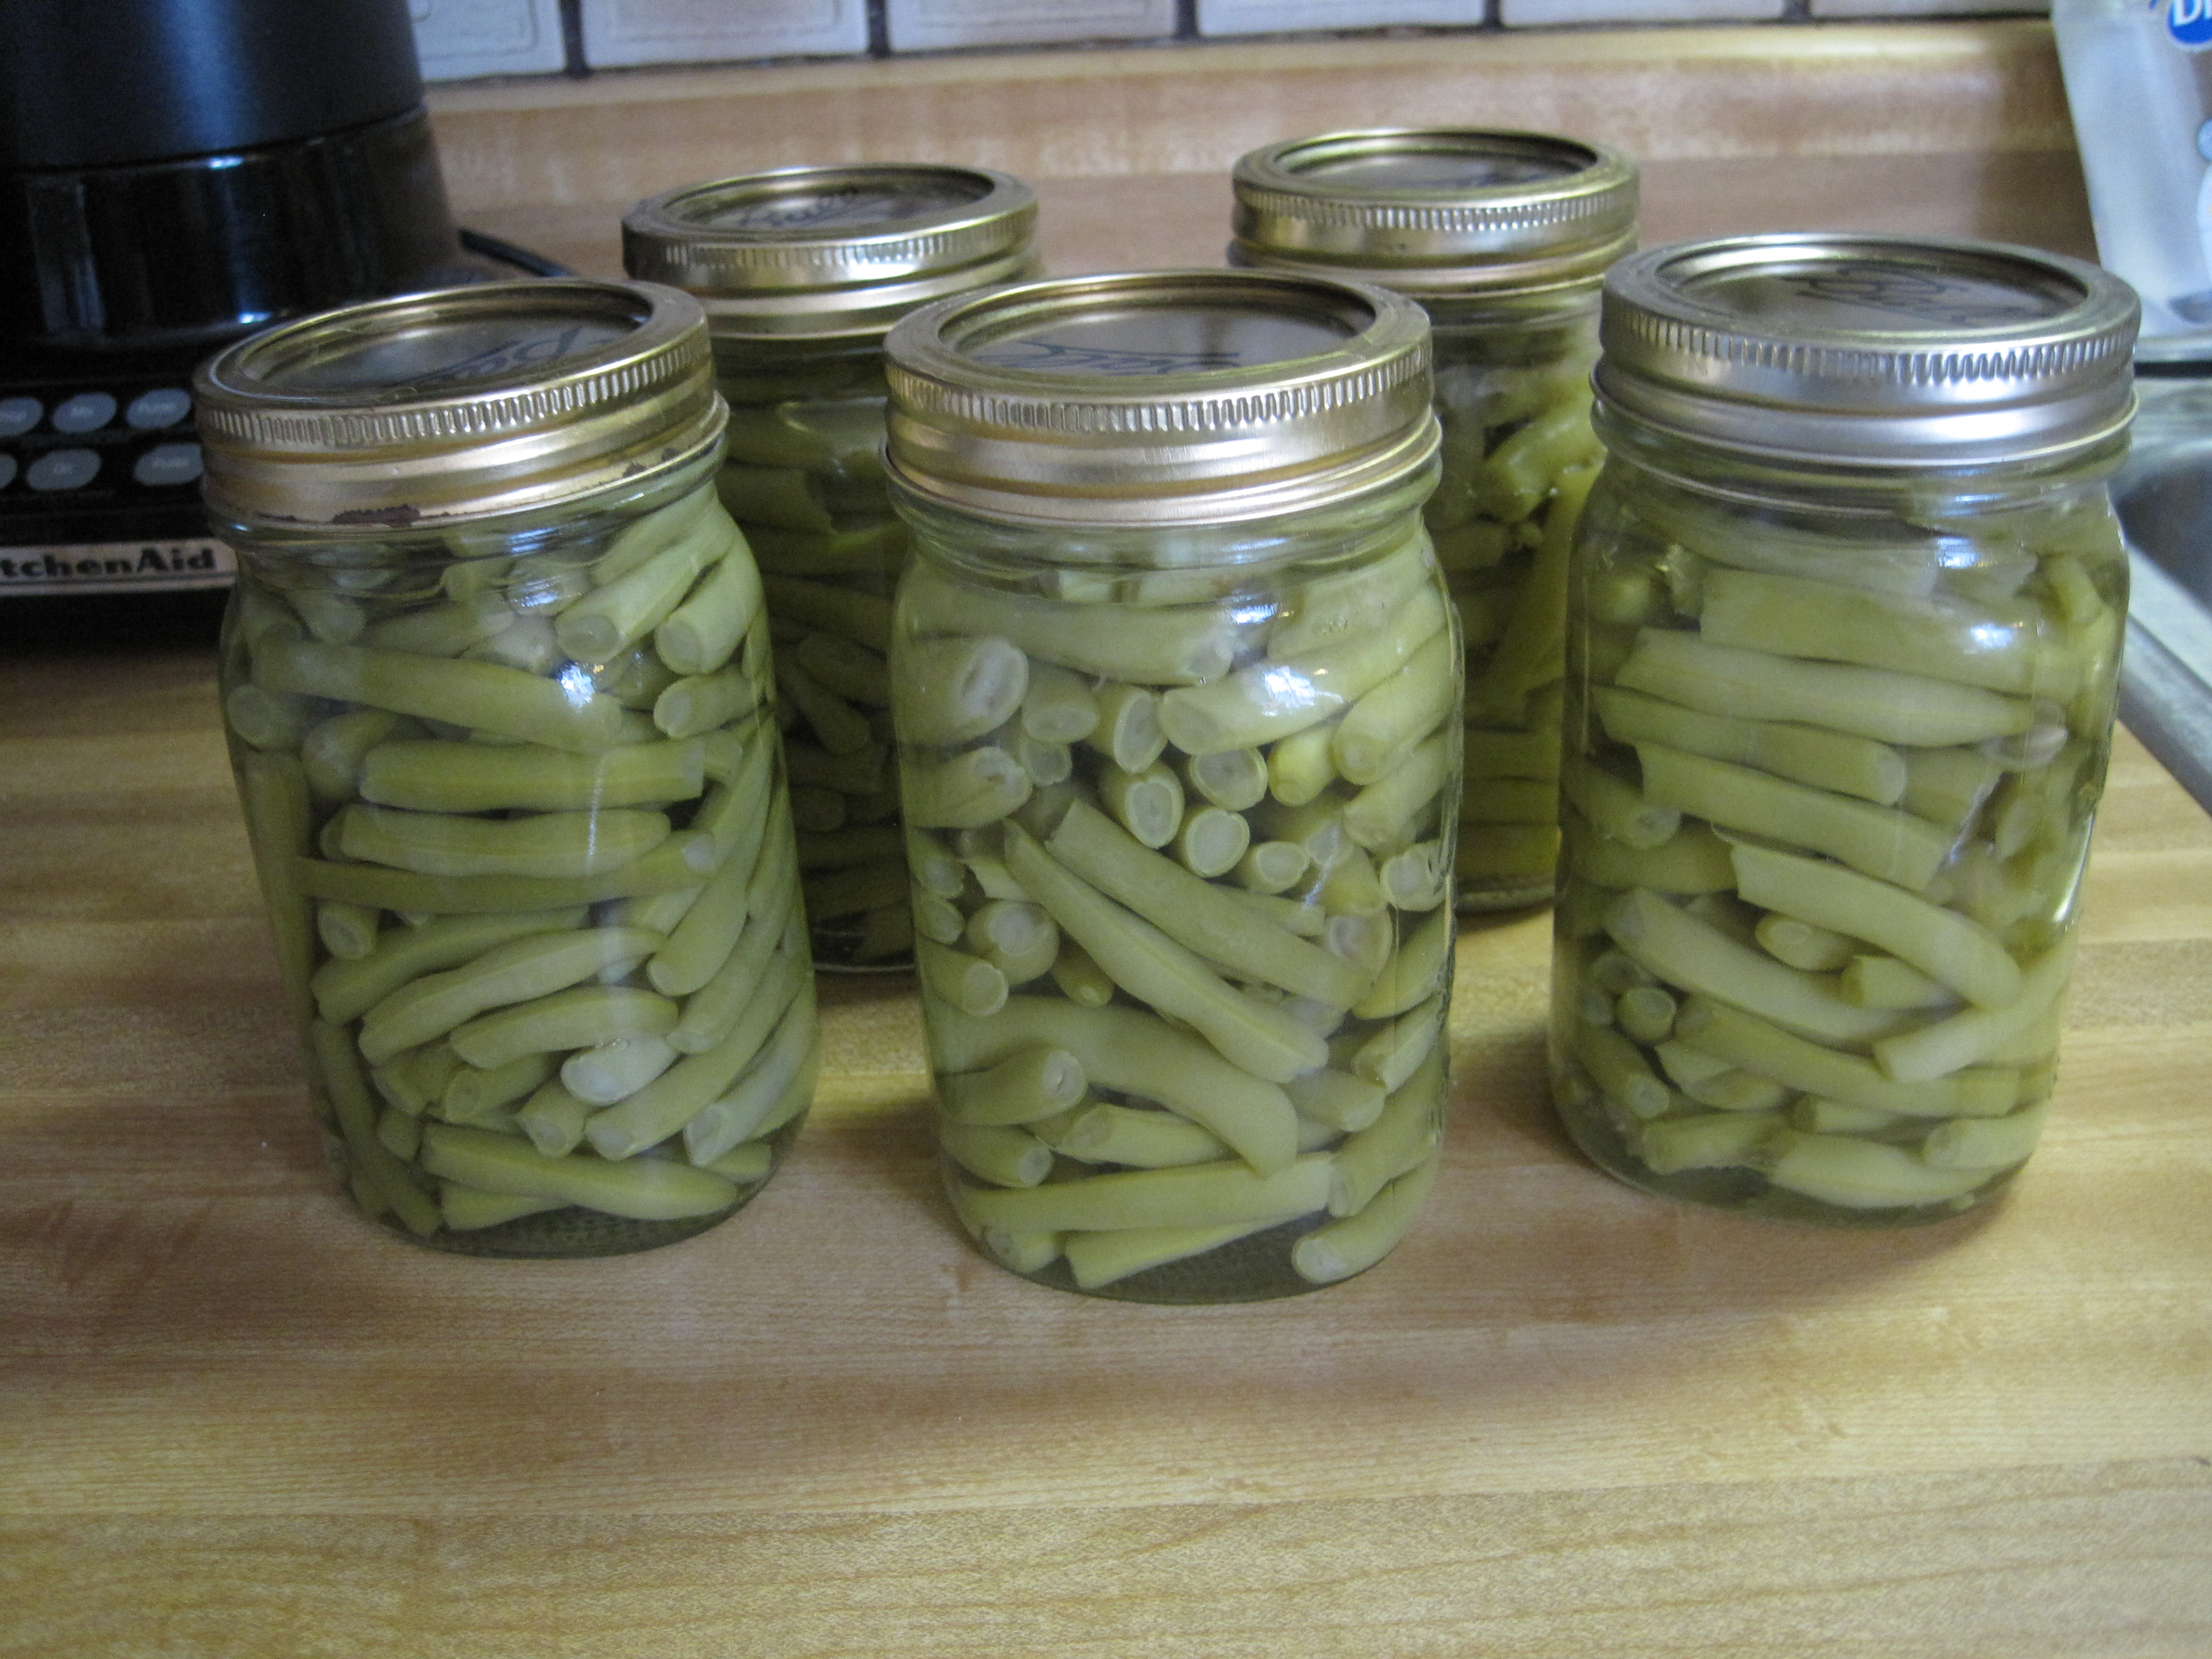
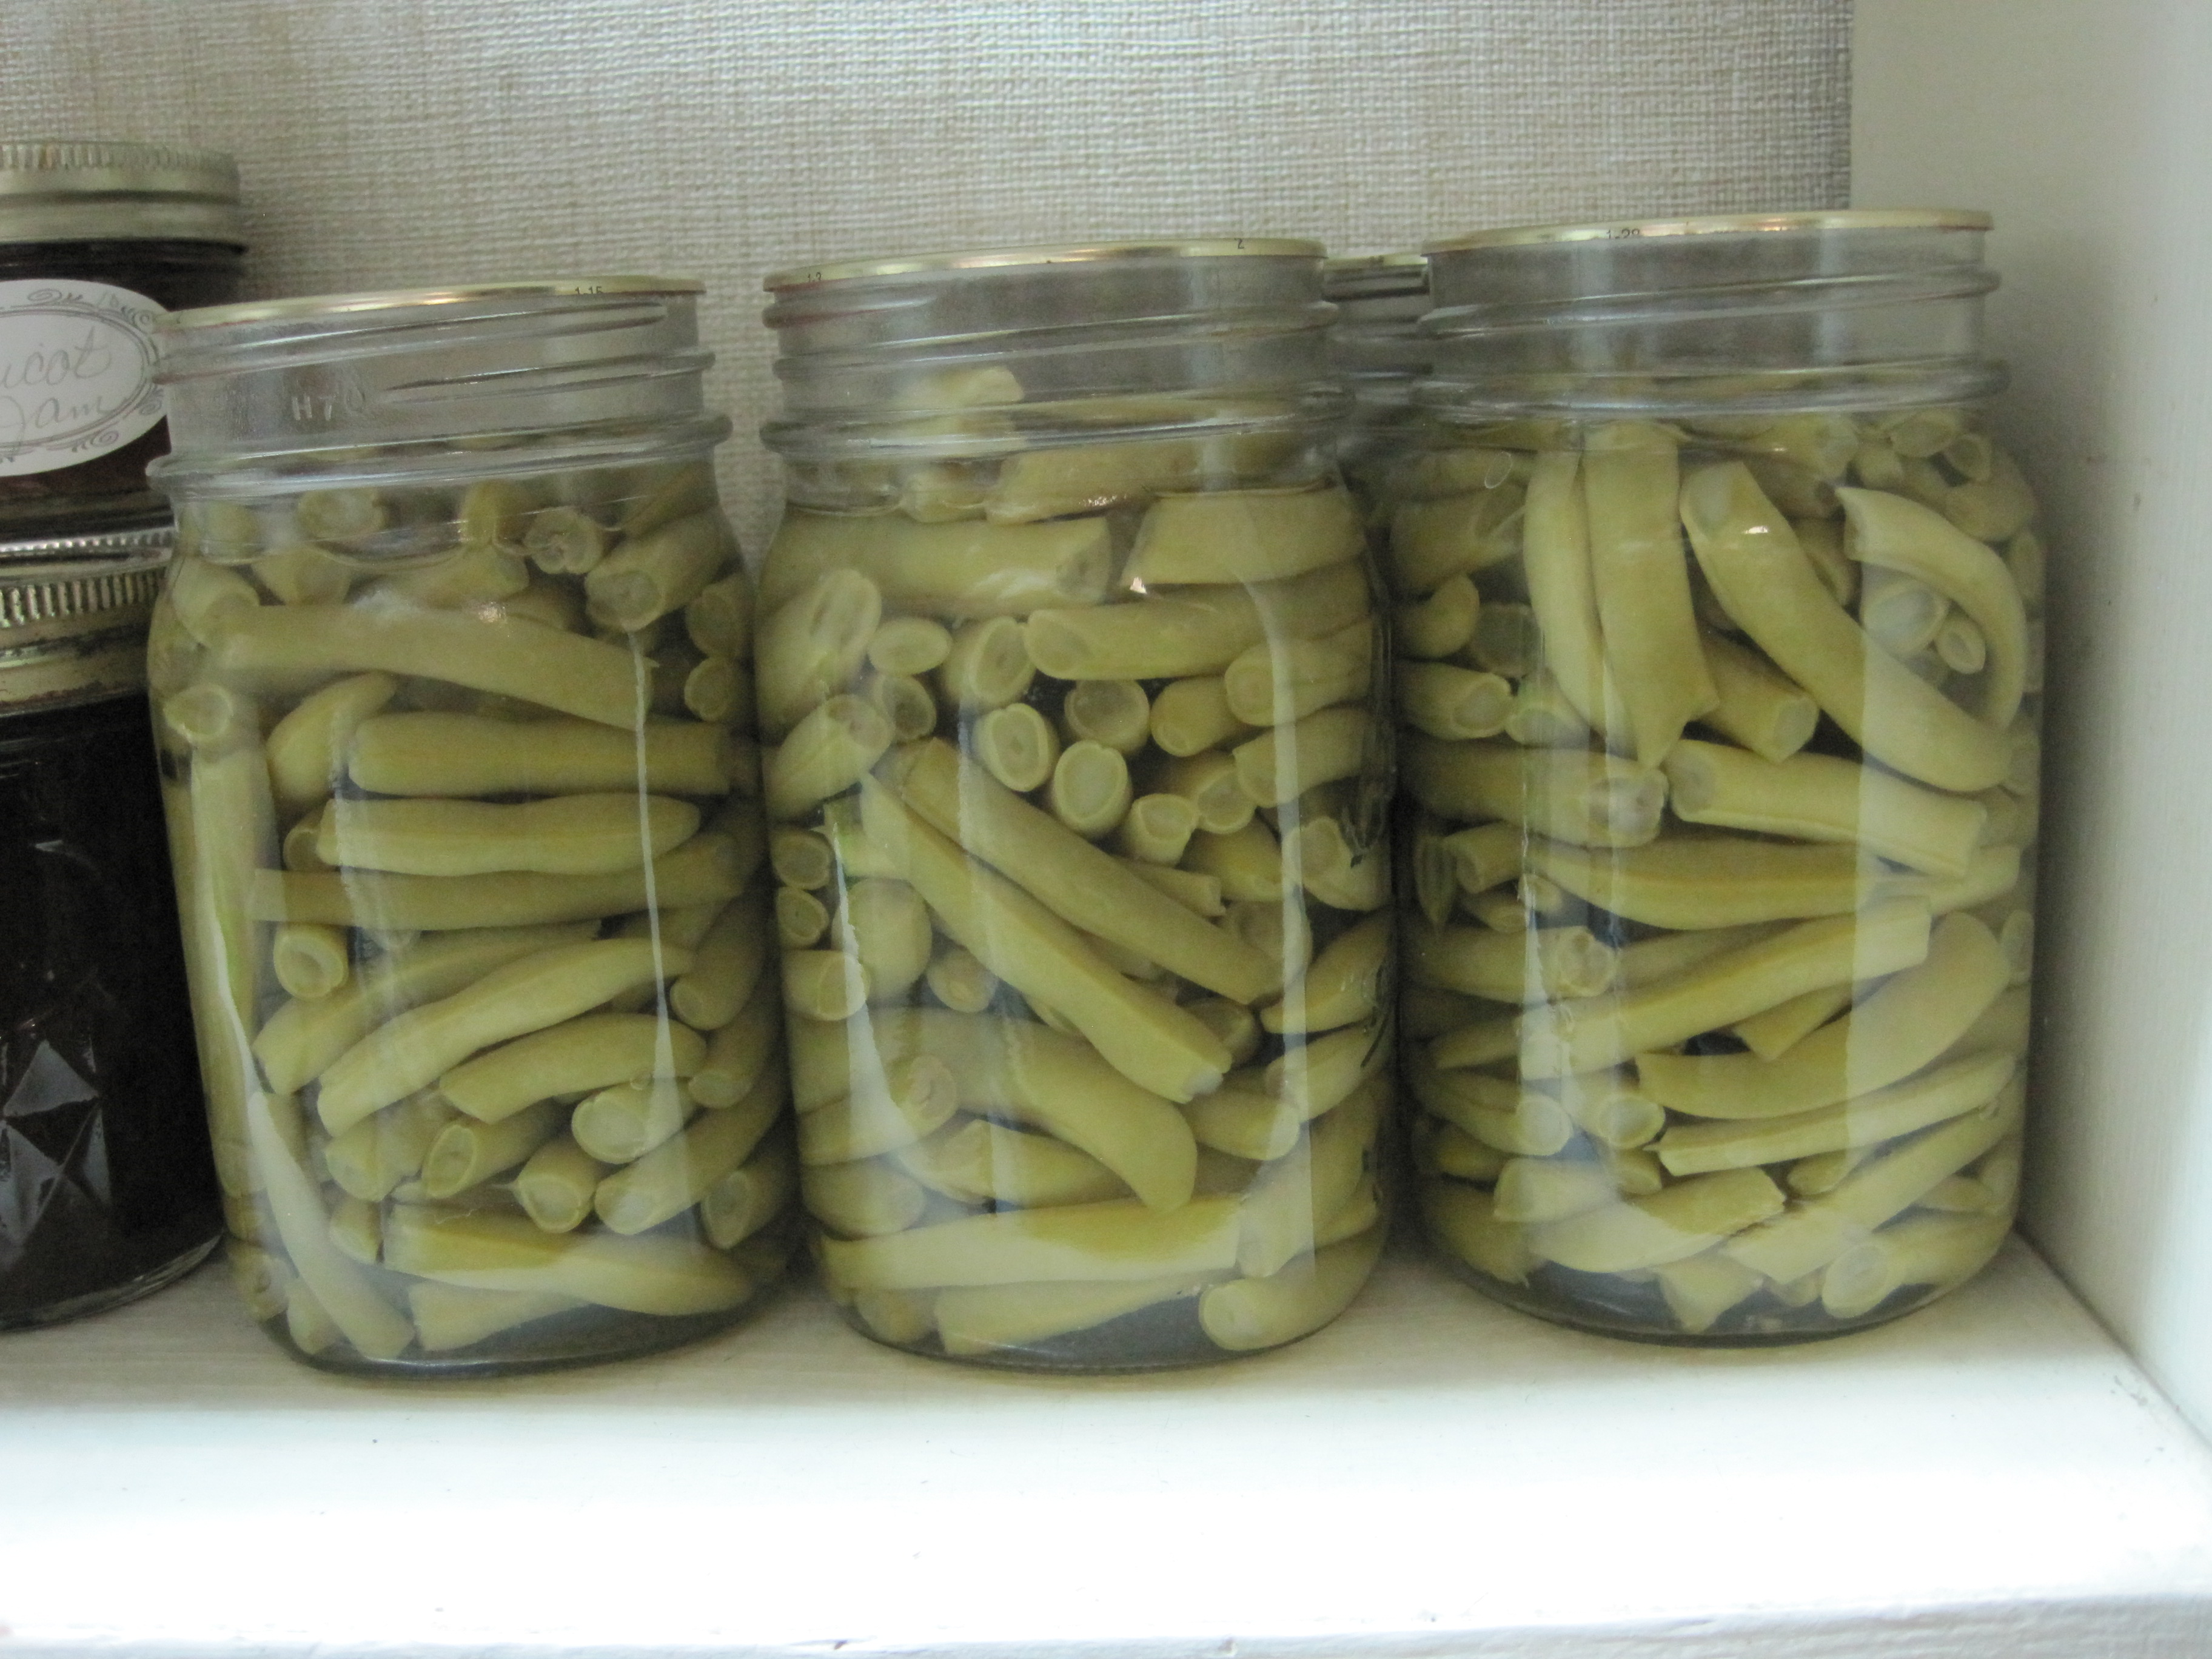
 Canned Green Beans
When the jars are completely cooled, remove the bands carefully. If you prefer to leave the bands on, loosen them slightly to allow any water to evaporate so the bands don’t rust.
Thanksgiving Green Bean Casserole
 Canned Green Beans
As they sit on the shelf, I think of the green bean casserole everyone makes during the holidays. This year, they may not be French cut, but ours will be made from the green beans that came from my garden. How cool is that?!!?
Tags: above ground garden · canning · Christina Hoffman · Green Beans · pressure cooker · Raised Garden

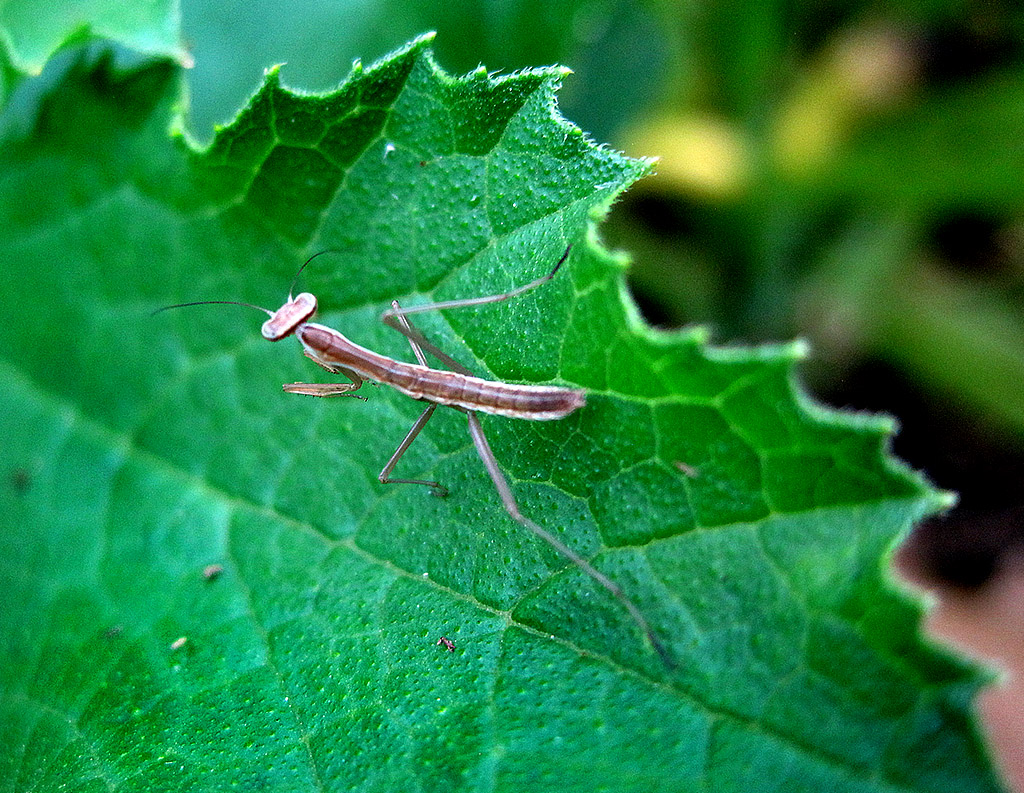
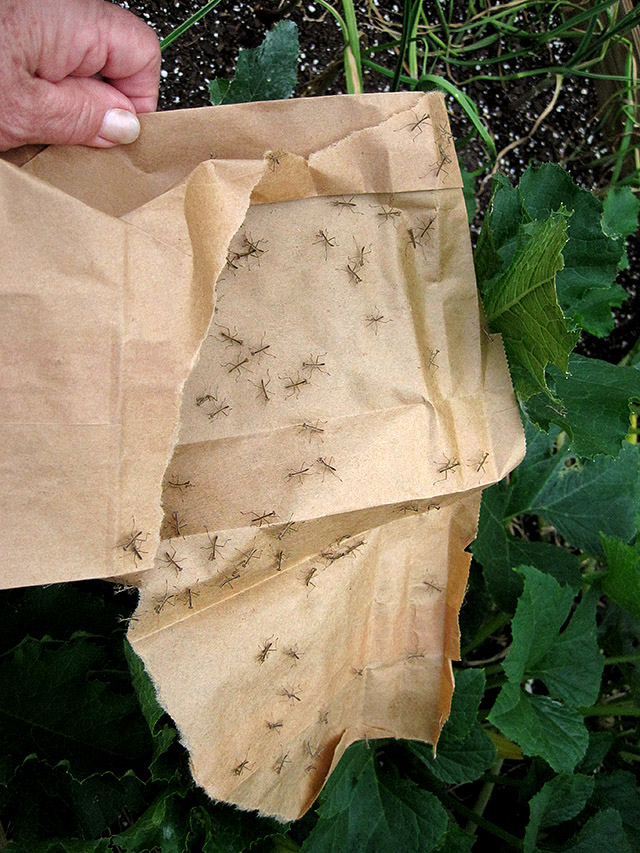
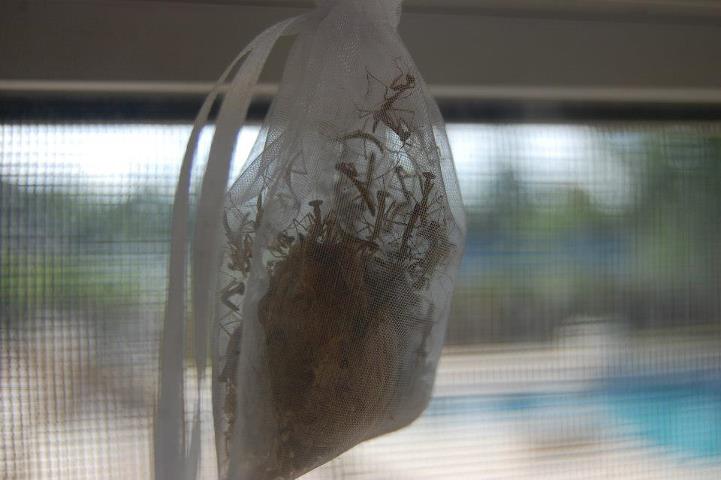 Preying Mantis Hatching from Egg Sac
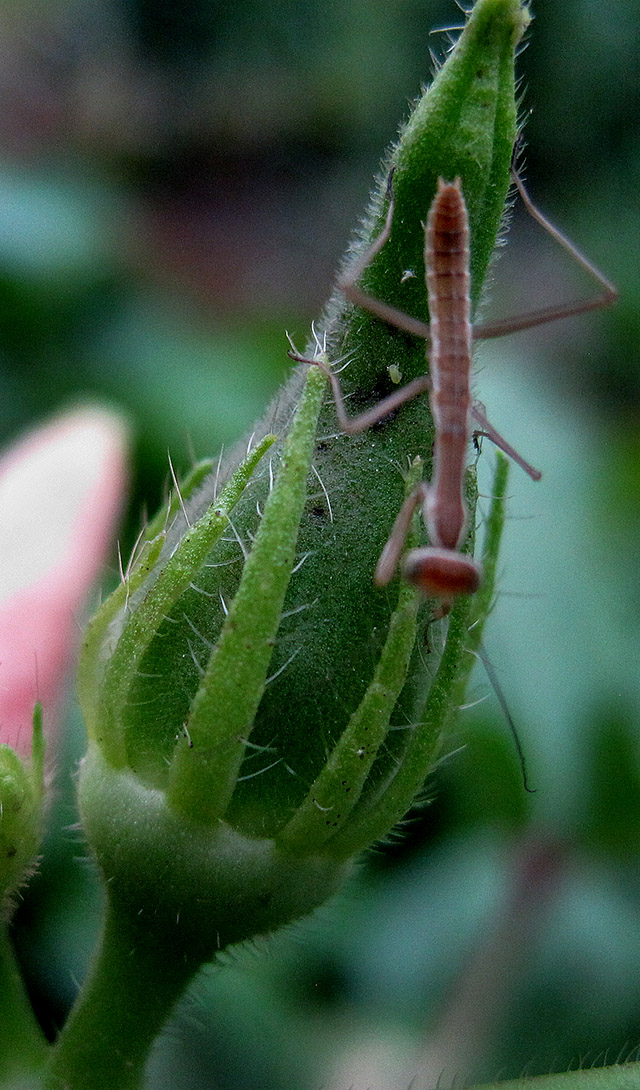
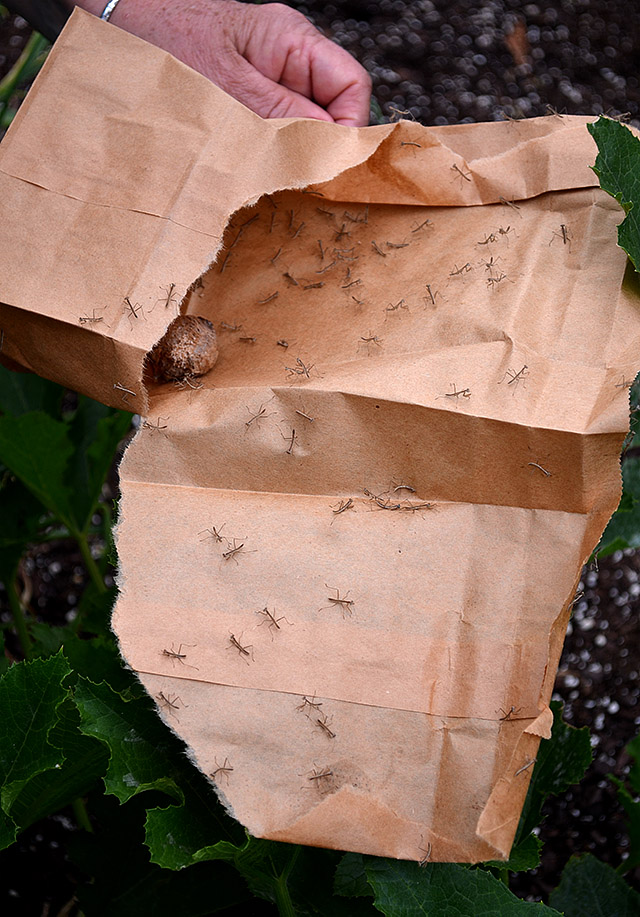 Egg Sac and Just Hatched Preying Mantises
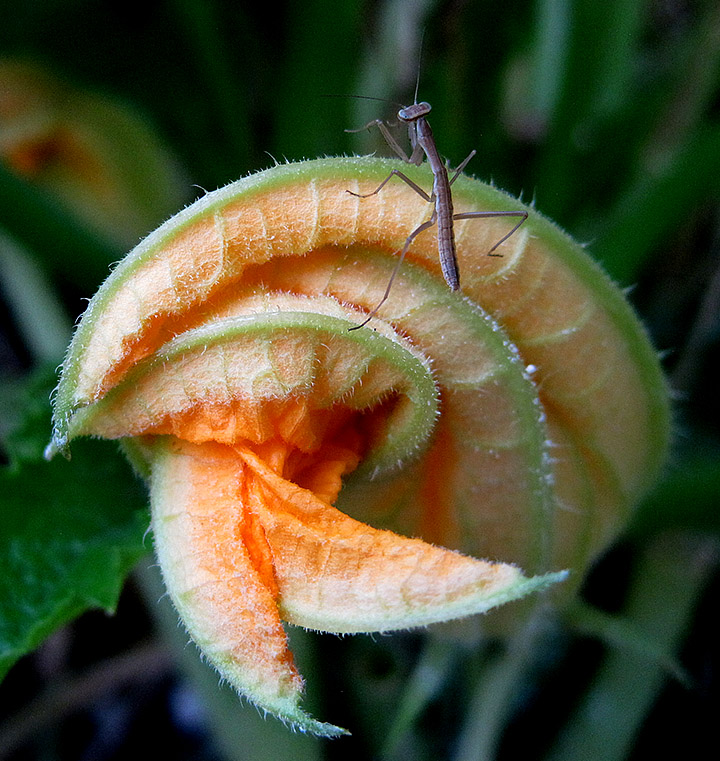
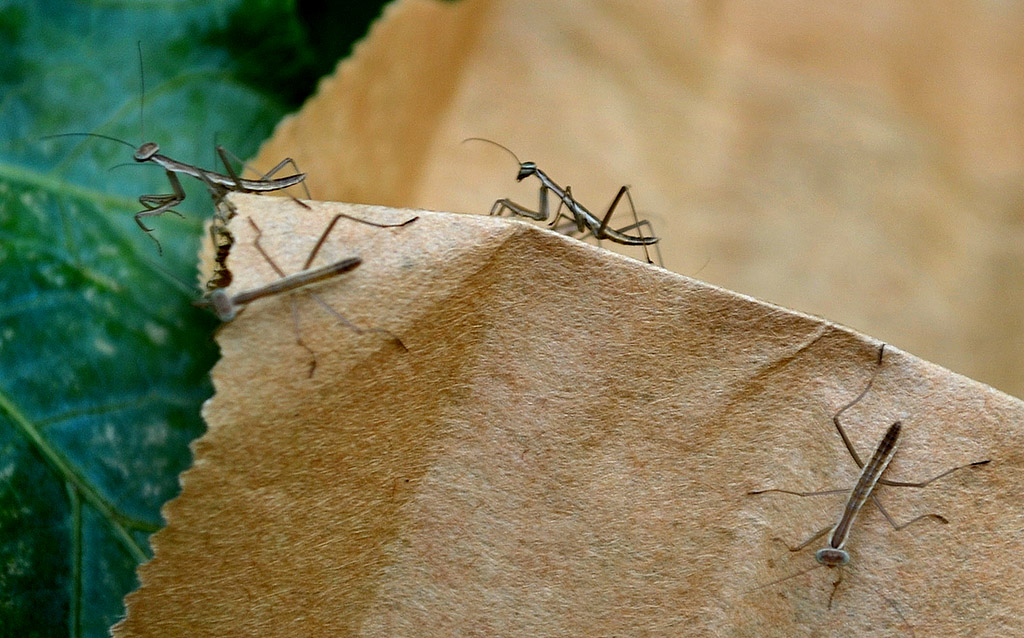 Slow Moving Preying Mantises
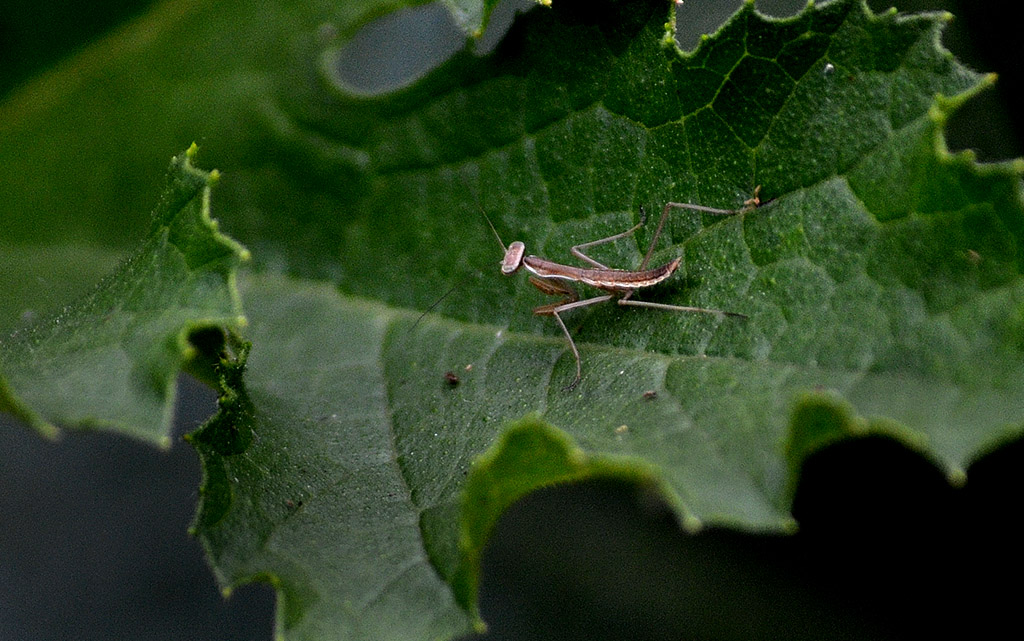
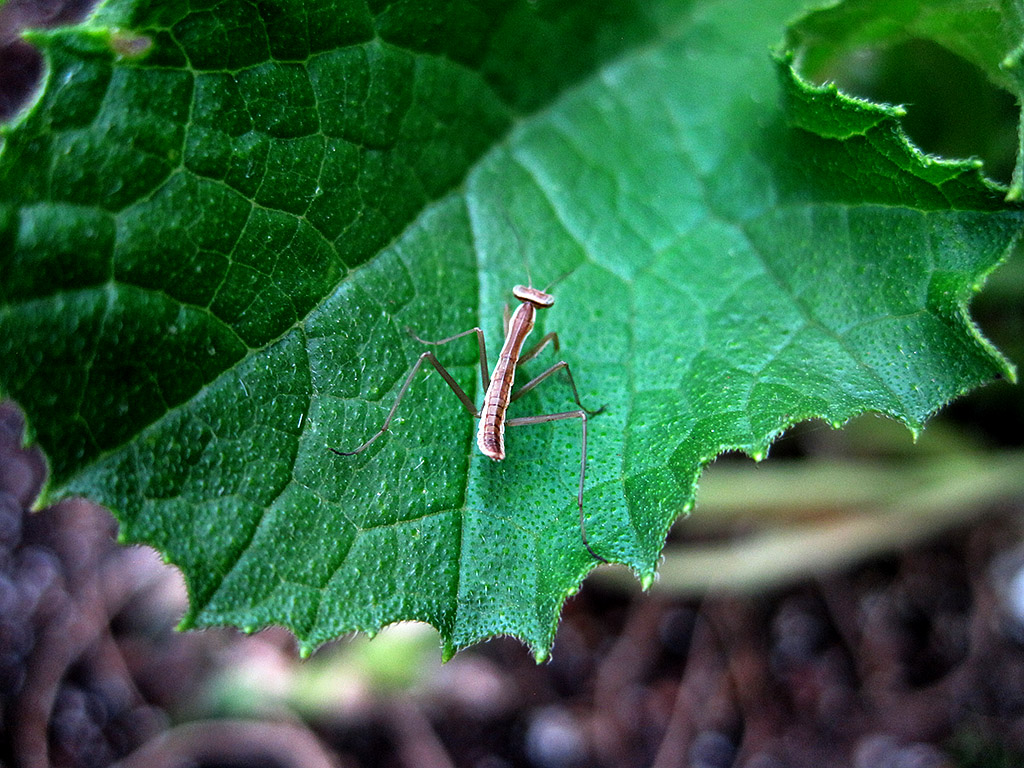
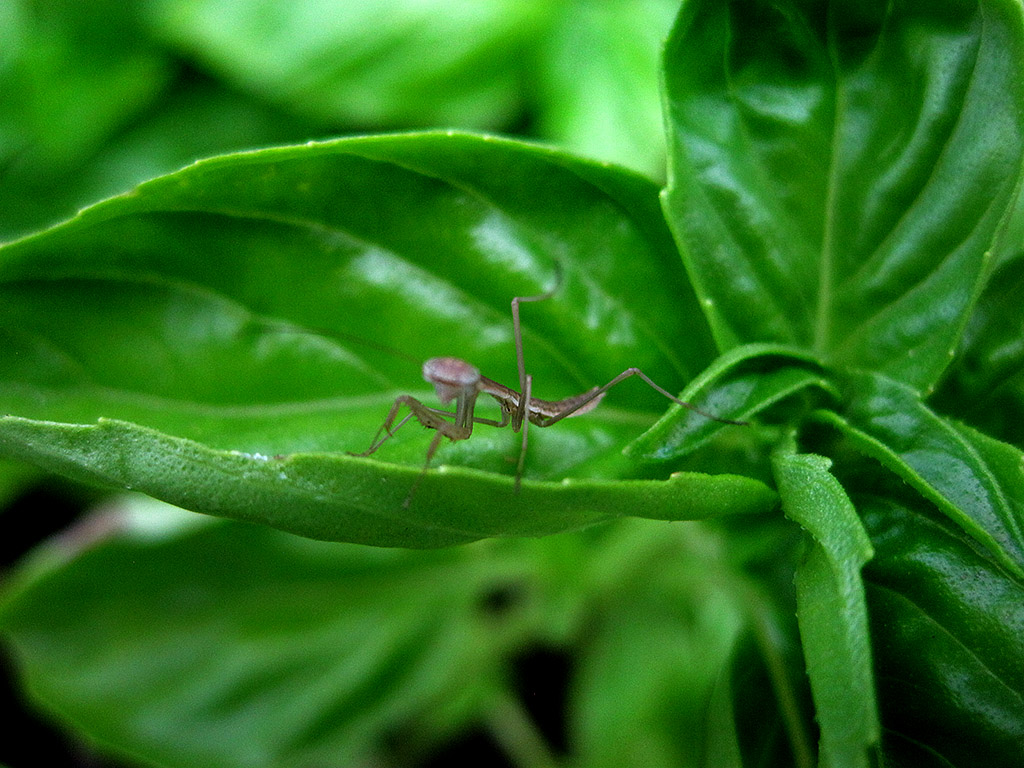 Preying Mantis on Basil Leaf